The Battle of al Buḥayra, fought in 1132 outside the walls of Damascus, was one of those sharp, localised clashes that rarely make popular lists yet quietly shaped the balance of power in the early Crusader period. It pitched the rising authority of Zengi against the Burid rulers of Damascus, who were already feeling the pressure of a rapidly changing political landscape.
What makes al Buḥayra interesting is not scale but timing. This was a test of nerve, leadership, and tactical judgement at a moment when the Muslim Near East was slowly moving from fragmentation toward consolidation. Zengi was not yet the figure who would shock Christendom at Edessa, but his intent was clear enough to worry his neighbours.
Background and Strategic Context
By the early 1130s, Damascus stood in an awkward position. The Burid dynasty balanced diplomacy with the Crusader states while trying to resist encroachment from more aggressive Muslim rulers. Zengi’s expansion from Mosul and Aleppo threatened that balance. Al Buḥayra, a lake and marshland area near Damascus, offered both a defensive barrier and a tempting battleground.
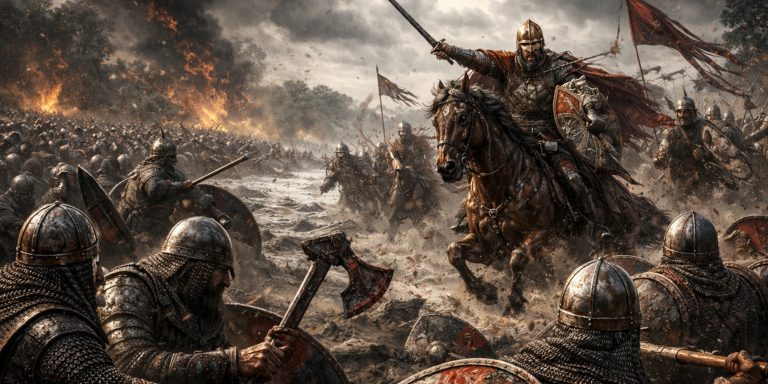
Zengi advanced with confidence, expecting to intimidate or overawe the Damascenes. Instead, he met an army willing to fight, familiar with the terrain, and motivated by the simple desire not to be swallowed by a more powerful neighbour. History has taught us that such motives can be surprisingly effective.
Forces
Leaders
| Side | Commander | Role |
|---|---|---|
| Zengid forces | Zengi | Supreme commander |
| Burid forces | Taj al-Muluk Buri | Ruler of Damascus |
Troop Composition
Zengid Army
- Heavy and medium cavalry drawn from Turkish and Kurdish retainers
- Mounted archers with steppe tactical traditions
- Limited infantry support, mainly for camp defence
Damascene Army
- Urban militia reinforced by professional soldiers
- Light and medium cavalry familiar with local ground
- Infantry equipped for close defensive fighting near water and marshland
Numbers are not securely recorded, but both forces were likely in the low thousands. This was not a mass battle. It was a hard contest between compact armies where leadership mattered more than headcount.
Arms and Armour
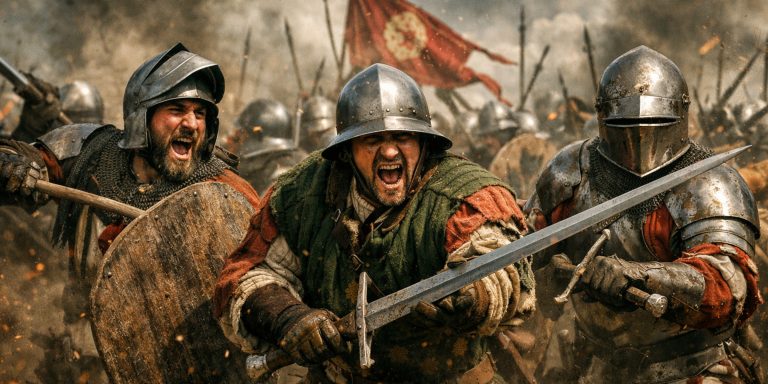
The fighting at al Buḥayra reflects the transitional military culture of the 12th century Levant.
Common Weapons
- Straight, double edged swords of Islamic Near Eastern type
- Early forms of the saif used by cavalry and officers
- Lances and light spears for mounted troops
- Composite bows for skirmishing and harassment
Armour
- Mail hauberks worn by elite cavalry on both sides
- Conical helmets with nasal protection
- Quilted or padded garments for infantry
Sword use here was practical rather than heroic. This was close, unpleasant fighting near broken ground, not a place for elegant fencing. If any warrior hoped for a clean duel, al Buḥayra would have disabused him of that notion very quickly.
Battle Timeline
- Early morning
Zengid forces approach the Damascene position near the lake, attempting to draw the enemy into open combat. - Mid morning
Skirmishing begins. Mounted archers exchange fire, but the terrain limits sweeping manoeuvres. - Late morning
Damascene forces hold their ground. Zengi commits heavier cavalry but struggles to achieve a decisive breakthrough. - Midday
Fighting intensifies at close quarters. Losses mount on both sides without clear advantage. - Early afternoon
Zengi orders a withdrawal, recognising that continued pressure risks unnecessary casualties.
The battle ends without a crushing defeat, but strategically it favours Damascus. Zengi leaves frustrated, and that matters.
Outcome and Significance
Tactically, al Buḥayra was a Damascene success. Strategically, it delayed Zengi’s southern ambitions and preserved Damascus as an independent power for a few more years. The Burids demonstrated that Zengi was formidable but not invincible.
For Zengi, the lesson was equally valuable. Future campaigns would be better prepared, more decisive, and less forgiving. One suspects he did not enjoy being told no by a city he expected to intimidate.
Archaeology and Evidence
Archaeological evidence for the battle is limited, which is hardly surprising given the terrain and the passage of time. No mass graves or weapon hoards have been securely linked to the engagement. What we rely on instead are:
- Medieval chronicles describing the location and outcome
- Geographic correlation between texts and the lake region south west of Damascus
- Comparative military material from contemporary sites in Syria
As ever, archaeology remains frustratingly silent precisely where historians would like it to speak.
Contemporary Accounts
Later Islamic chroniclers noted the encounter with restrained satisfaction. One account observes that Zengi “withdrew, having found the men of Damascus resolute and unyielding.” That is historian code for being unpleasantly surprised.
Another source remarks on the firmness of the Damascene defence, praising their refusal to abandon favourable ground. There is no triumphal boasting here, just quiet approval. That tone often tells us more than dramatic language ever could.
Legacy
The Battle of al Buḥayra rarely earns more than a footnote, yet it deserves better. It shows Damascus at its most resilient and Zengi at a formative stage in his career. Within a decade, the political map of the region would look very different.
Al Buḥayra reminds us that history is not only shaped by great victories. Sometimes it turns on a single refusal to yield, delivered politely, firmly, and with swords drawn.