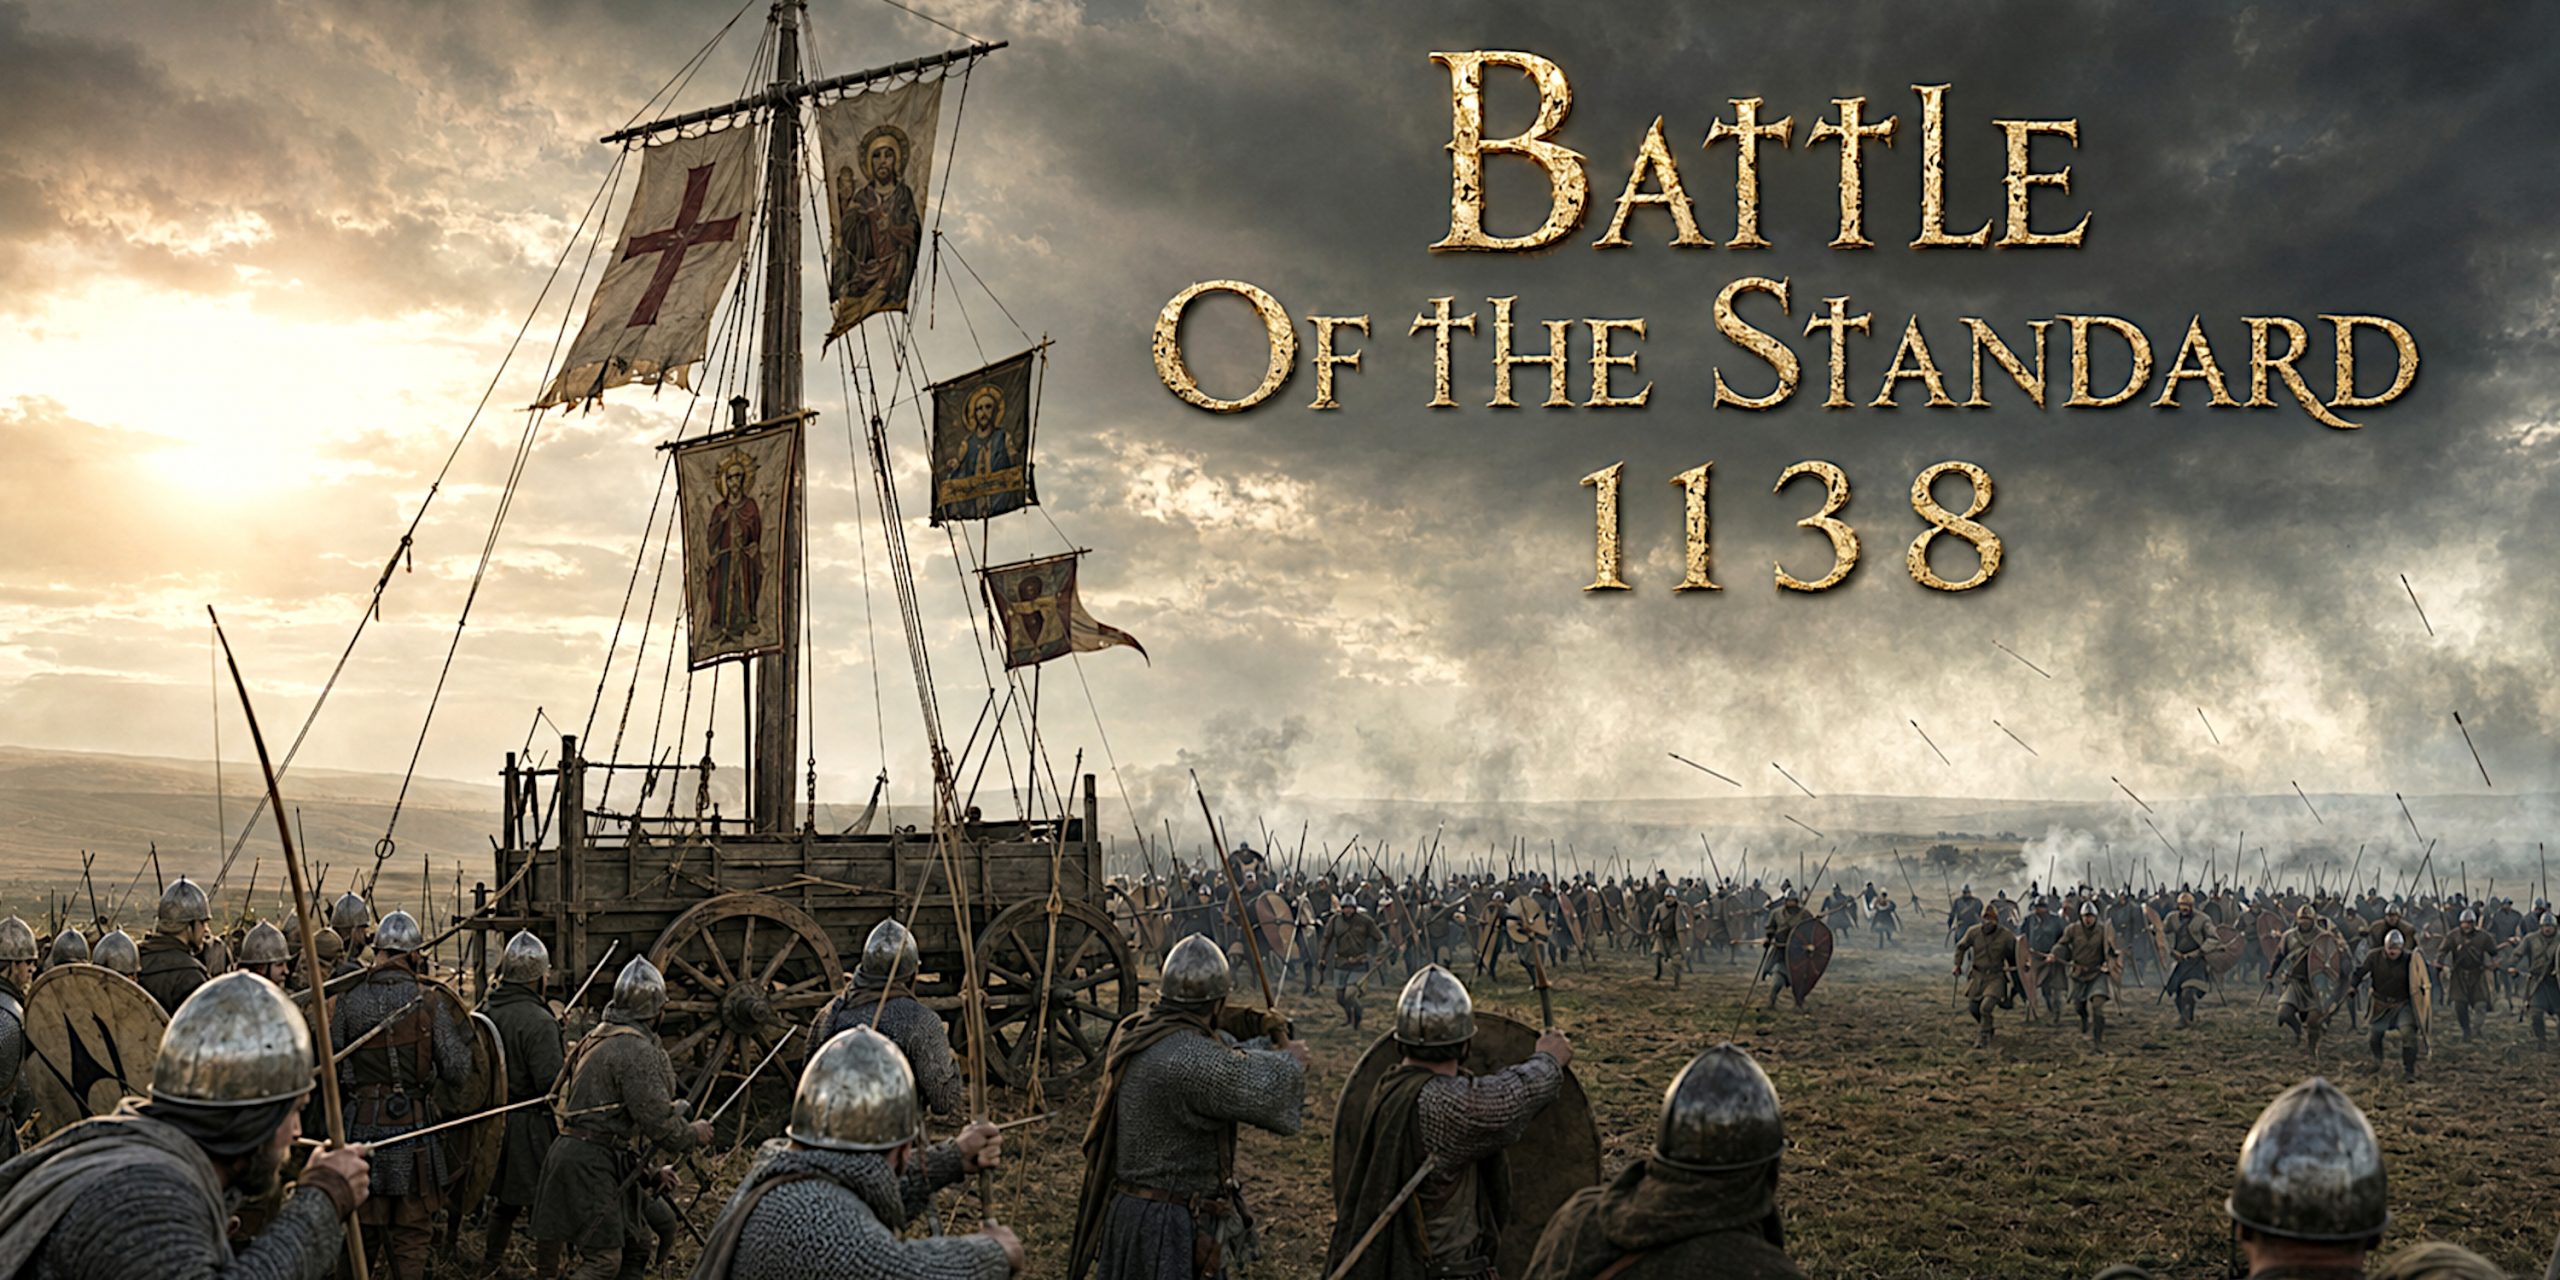
On the morning of 22 August 1138, two very different armies faced one another on open ground north of Northallerton. One had been drawn from across the kingdom of David I of Scotland. The other was a hastily assembled northern English force fighting without King Stephen, who was occupied by rebellion elsewhere.
At the centre of the English position stood a ship’s mast fixed to a wagon. From it flew the sacred banners of York, Beverley and Ripon, while a vessel containing the consecrated Host was reportedly placed at its summit. This extraordinary arrangement gave the Battle of the Standard its name.
The battle ended in a decisive English victory, but it was not a simple national contest between England and Scotland. David’s army contained Scots, Galwegians, Cumbrians, men from Lothian, islanders and Anglo-Norman knights. The English host included local levies, archers and armoured nobles, some of whom had personal and family connections across the border.
Twelfth-century Britain rarely arranged itself into tidy national teams. Medieval politics would have found that rather limiting.
Battle of the Standard: Quick Facts
| Detail | Information |
|---|---|
| Date | 22 August 1138 |
| Location | Near Brompton, approximately two miles north of Northallerton, Yorkshire |
| Alternative name | Battle of Northallerton |
| Wider conflict | The Anarchy |
| English commander | Command uncertain, with William of Aumale and Walter Espec among the leading figures |
| Scottish commander | David I, King of Scots |
| English strength | Unknown, later estimates commonly suggest up to 10,000 |
| Scottish strength | Unknown, later estimates commonly suggest up to 16,000 |
| Result | English victory |
| Principal English strength | Defensive formation supported by archers and dismounted men-at-arms |
| Principal Scottish strength | A large and diverse army, including Galwegian spearmen and Anglo-Norman cavalry |
| Main contemporary sources | Richard of Hexham, Ailred of Rievaulx, John of Worcester and Henry of Huntingdon |
The familiar figures of 10,000 English and 16,000 Scots should be treated as estimates rather than reliable totals. Medieval chroniclers were not conducting an audit, and large numbers made victories appear more miraculous.
Why Was the Battle Fought?
The battle grew from the succession crisis that followed the death of Henry I of England in 1135.
Henry had required his leading subjects to recognise his daughter, the Empress Matilda, as his heir. David I was Matilda’s maternal uncle and had sworn to support her succession. When Stephen of Blois seized the English crown, David had both a political justification and an opportunity to intervene.
His motives were not entirely selfless. David wanted greater control over Northumberland, Cumberland and the border territories. Supporting Matilda allowed him to pursue these ambitions beneath the respectable cloak of dynastic loyalty.
David invaded northern England several times between 1136 and 1138. Negotiations brought temporary settlements, but the underlying dispute remained. In January 1138, Scottish forces entered Northumberland again. Norham fell, Wark was besieged and raiding spread across the region.
King Stephen marched north but failed to bring David to battle. Once Stephen returned south, David resumed the campaign and eventually advanced beyond the River Tees into Yorkshire.
The northern English magnates could no longer wait for the king.
Archbishop Thurstan Raises the Northern Army
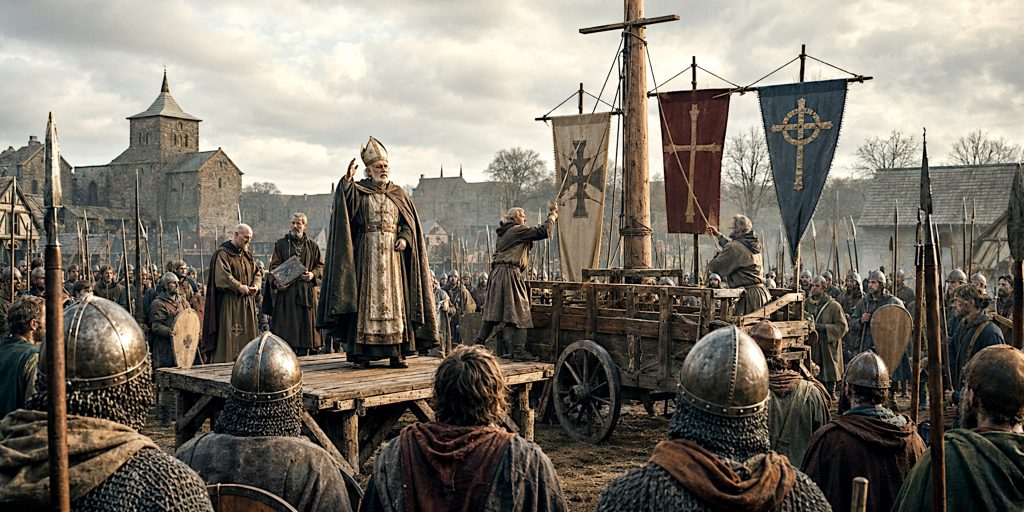
The English response was organised largely through the efforts of Thurstan, Archbishop of York. Elderly and reportedly in poor health, Thurstan did not lead the army in person. He instead used clerical authority, local networks and religious symbolism to mobilise resistance.
Men were summoned from Yorkshire and the northern Midlands. Clergy preached that resisting the invaders was a sacred duty, while parish priests accompanied local levies to the gathering point.
The English army assembled at York before moving north to block David’s advance. It selected a position astride or close to the main road north of Northallerton.
Thurstan’s most memorable contribution was the standard itself. A ship’s mast was mounted on a four-wheeled wagon and decorated with the banners of:
- St Peter of York
- St John of Beverley
- St Wilfrid of Ripon
The wagon provided a visual rallying point for the army. It also gave religious legitimacy to a force that lacked the physical presence of its king.
The arrangement resembled the Italian carroccio, a ceremonial wagon used as a military standard by several medieval communes. Whether the English copied that practice directly is uncertain, but the purpose was much the same. Men fighting in noise, dust and confusion needed something conspicuous around which to remain organised. A mast, several banners and a wagon were difficult to misplace.
Leaders
English Leaders
| Leader | Position and role |
|---|---|
| William of Aumale | Powerful Yorkshire noble, later created Earl of York; frequently presented as the English commander |
| Walter Espec | Sheriff of York, experienced baron and founder of Rievaulx Abbey |
| Robert de Brus | Lord of Skelton; attempted to negotiate with David before the battle |
| Walter de Gant | Yorkshire landholder and senior noble within the army |
| Ilbert de Lacy | Important northern baron |
| William de Percy | Member of a major Yorkshire landholding family |
| Roger de Mowbray | Young but influential noble whose lands lay in the threatened region |
| Ralph Nowell | Bishop of Orkney and representative of Archbishop Thurstan |
| Robert de Ferrers | English magnate later rewarded with the earldom of Derby |
No contemporary source provides an entirely satisfactory chain of command. William of Aumale probably held senior authority, but the army appears to have been directed collectively by the northern barons.
Walter Espec is given a prominent role by Ailred of Rievaulx, who placed a rousing pre-battle speech in his mouth. As ever with medieval speeches, the sentiments may be authentic while the polished wording belongs to the author.
Scottish Leaders
| Leader | Position and role |
|---|---|
| David I | King of Scots and overall commander |
| Prince Henry | David’s son, Earl of Huntingdon and leader of an important mounted contingent |
| Máel Ísu | Mormaer of Strathearn, a prominent representative of the Gaelic aristocracy |
| William fitz Duncan | David’s nephew and an experienced commander |
| Eustace fitz John | Anglo-Norman supporter of David and former adherent of King Stephen |
| Robert de Brus | Although present with the English, he had longstanding ties to David and attempted to persuade him to withdraw |
| Domnall and Ulgric | Leaders associated with the Galwegian contingent, both reportedly killed during the attack |
David I was an experienced ruler who had introduced Anglo-Norman institutions and military practices into Scotland. His army nevertheless reflected the varied political communities under his authority. It was a coalition rather than a uniform national force.
Forces and Troop Composition
Exact numbers are impossible to recover. The figures repeated in popular accounts ultimately depend upon chroniclers whose interests lay in moral meaning, not accurate manpower returns.
The Scottish army was probably larger, but its contingents differed greatly in equipment, language and battlefield custom. The English force was smaller but occupied prepared ground and possessed a more coherent defensive formation.
English Army
| Contingent | Likely role | Typical equipment |
|---|---|---|
| Anglo-Norman knights and men-at-arms | Dismounted to strengthen the main battle line | Mail hauberk, helmet, shield, lance or spear, sword |
| Archers | Deployed among or ahead of the front ranks | Self bow, arrows, knife or short sidearm |
| Yorkshire levies | Formed much of the infantry body | Spear, shield, padded protection, occasional helmet |
| Northern baronial retinues | Experienced household troops and retainers | Spear, sword, mail armour and helmet |
| Limited cavalry | Command, scouting and pursuit | Lance, shield, sword and mail |
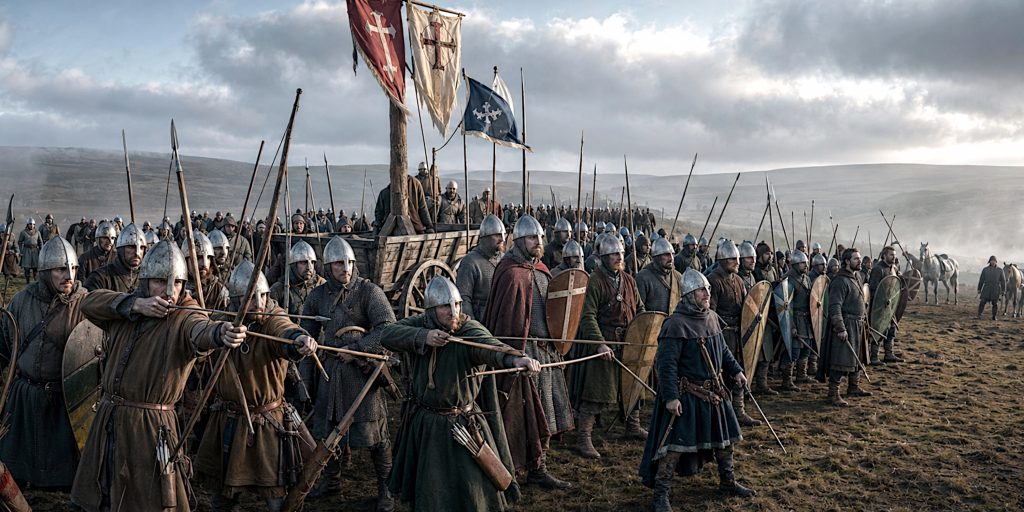
Richard of Hexham states that most of the English knights dismounted. Selected men-at-arms were placed in the front rank alongside archers, while the remainder gathered around the standard.
The horses were moved away from the main formation. This reduced the possibility of panic among the animals and made retreat rather less convenient, which may have been precisely the point.
Scottish Army
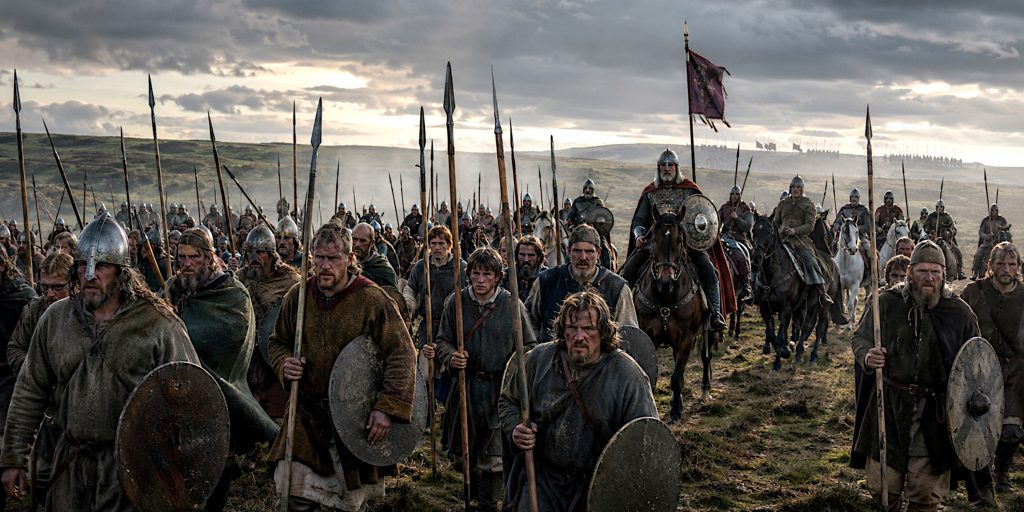
Ailred of Rievaulx describes the Scottish host as forming four divisions.
| Division | Composition | Battlefield role |
|---|---|---|
| First division | Galwegians from south-west Scotland | Led the main infantry assault |
| Second division | Prince Henry’s knights, archers, Cumbrians and men of Teviotdale | Supported the attack and included mounted troops |
| Third division | Men of Lothian, islanders and warriors from Lorn | Follow-up infantry formation |
| Fourth division | David I, Scots, Moravians and members of the royal household | Reserve and royal command group |
This reconstruction depends heavily upon Ailred, who wrote with political and literary purposes of his own. His divisions should not be imagined as modern brigades with tidy boundaries and matching equipment.
The Galwegians insisted upon leading the attack. According to Ailred, David initially wanted his armoured knights in front but yielded after a dispute among his commanders. The episode may contain a genuine memory of disagreement within the army, although Ailred also used it to contrast supposedly impetuous Galwegians with disciplined Anglo-Norman warfare.
Arms and Armour
The Battle of the Standard was fought during a period in which the spear remained the principal weapon of most infantry. Swords were prestigious and useful secondary weapons, but they were not carried by every man.
Swords Used at the Battle
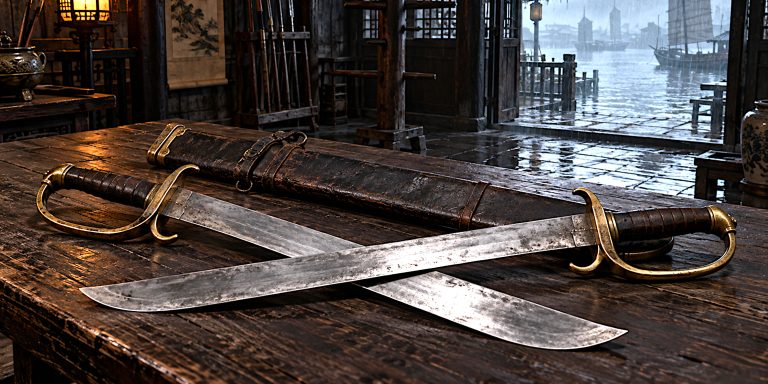
The best-equipped warriors on both sides would have carried the single-handed, double-edged cruciform sword commonly called an arming sword.
Surviving examples from the late eleventh and early twelfth centuries are commonly classified by modern specialists as:
- Oakeshott Type X: A broad, parallel-edged blade with a rounded or gently pointed tip and a wide fuller
- Oakeshott Type Xa: A somewhat longer and narrower development of Type X
- Early Oakeshott Type XI: A more slender blade suited to a combination of cutting and thrusting, although this type became more characteristic later in the century
These classifications are modern archaeological tools. A knight at Northallerton would not have announced that he was drawing a Type Xa. He would simply have regarded it as his sword, probably with considerably more affection than he felt for most of his relatives.
The sword was primarily a cutting weapon, but its point could be used against the face, limbs and openings in mail. It was carried in a scabbard suspended from a sword belt.
Some less wealthy warriors may have carried large knives or single-edged blades. Later descriptions associate Galwegian fighters with formidable knives, but these accounts should not be used to place a uniform national weapon in every Galwegian hand.
Spears and Lances
The spear was the most common weapon in both armies.
Galwegian infantry attacked with long spears or lances. The sources present their charge as aggressive and determined, but the precise length of these weapons is unknown. They should not automatically be treated as the later Scottish pikes associated with battles such as Falkirk or Bannockburn.
Dismounted English knights could use shortened lances or ordinary infantry spears. A spear wall offered greater reach than swords and helped maintain the cohesion of the defensive line.
Mounted knights carried the couched lance, which could deliver enormous concentrated force when used in formation. Prince Henry’s mounted attack appears to have penetrated part of the English position, demonstrating that cavalry still posed a serious threat even against prepared infantry.
Bows
English archers played a central role in disrupting the Galwegian advance.
The sources refer to bows and archers, but identifying every weapon as the later medieval English longbow would be too confident. Powerful wooden self bows certainly existed, and some may have been comparable in length and strength to later longbows. The standardised military culture associated with the longbow belongs to a later period.
Arrows were particularly dangerous to unarmoured troops. Even when they did not kill, repeated volleys could break formation, slow an advance and expose men to attack once they reached the English line.
Defensive Equipment
| Equipment | Description |
|---|---|
| Mail hauberk | Interlinked iron rings covering the torso and often extending to the knees and arms |
| Mail coif | Mail protection for the head and neck, either attached to the hauberk or worn separately |
| Nasal helmet | Conical iron helmet with a projecting bar protecting the nose |
| Early enclosed helmet | More complete facial protection was beginning to appear among elite warriors |
| Kite shield | Long, tapering shield inherited from eleventh-century cavalry warfare |
| Transitional shield | Shorter shields with flatter or more rounded tops were increasingly common |
| Padded garment | Quilted or layered textile protection worn alone or beneath mail |
The chroniclers emphasised the contrast between armoured English men-at-arms and lightly equipped Galwegians. That contrast probably had some basis in fact, but it was exaggerated to serve a familiar literary argument: discipline and civilisation defeating courage without restraint.
The Battlefield and English Deployment
The traditional battlefield lies near Brompton, around two miles north of Northallerton. The English occupied a low ridge across the expected line of the Scottish advance.
The position offered several advantages:
- The English could remain stationary while the Scots advanced
- The slight rise improved visibility and helped the archers
- Wet or low-lying ground may have restricted movement on the flanks
- The standard provided a central rallying point
- Dismounted men-at-arms reinforced the front of the formation
- Horses were kept behind or away from the infantry body
The English deployment was compact and defensive. Archers were interspersed with selected armoured soldiers in the forward ranks. Other troops formed around the barons and the standard, producing a dense body capable of closing local gaps.
There is no good evidence that the English built major field fortifications. Their protection came from terrain, formation and the ability of the men-at-arms to support threatened sections.
The Battle Timeline
| Approximate time | Event |
|---|---|
| Before dawn | David’s army advances south, possibly hoping to approach under cover of mist |
| Early morning | The Scots discover the English army already deployed north of Northallerton |
| Before battle | A final dispute reportedly occurs over which Scottish contingent should lead |
| Opening phase | Galwegian spearmen advance against the English position |
| Early fighting | English archery inflicts casualties and disrupts the attackers |
| Main engagement | Galwegians reach the English line and engage in close combat |
| Turning point | Galwegian leaders are killed and the first division begins to break |
| Collapse spreads | Men from Lothian and other Scottish contingents lose cohesion |
| Mounted attack | Prince Henry penetrates the English position and reaches the horse lines |
| Final phase | Henry receives insufficient support and withdraws as the wider Scottish army retreats |
| Mid-morning | The retreat becomes a rout; David is escorted from the field |
| Later that day | Fugitives are killed, captured or drowned while attempting to escape north |
The battle probably lasted no more than a few hours and may have been substantially shorter. The decisive fighting was over by mid-morning.
The Galwegian Attack
The Galwegians opened the battle with a direct assault upon the English formation.
Their reputation for bravery is acknowledged even by hostile writers. Ailred describes them continuing to press forward despite the arrows falling among them. Courage, however, could not solve the tactical problem in front of them.
The English archers could shoot into the advancing mass before it reached spear range. Men without substantial armour were especially vulnerable. As casualties accumulated, the Galwegian formation lost some of the order and momentum needed to break a compact defensive line.
Those who reached the English position faced armoured men-at-arms supported by local infantry. Any temporary opening could be filled by men from the deeper ranks.
The deaths of the Galwegian leaders Domnall and Ulgric appear to have contributed to the collapse. Once the leading contingent recoiled, the troops behind it had little room or time to restore the attack.
Prince Henry Breaks Through
The most successful Scottish action was led by David’s son, Prince Henry.
Henry’s mounted force broke through or around part of the English formation and reached the area where the English horses were being held. This was a genuine tactical success. Had a disciplined body of infantry followed and widened the breach, the outcome might have become less comfortable for the defenders.
That support never arrived.
With the leading Scottish infantry already collapsing, Henry became isolated behind the English line. He reportedly concealed or discarded identifying banners before escaping through the confusion and rejoining his father.
The episode complicates any simple claim that cavalry had been defeated by infantry. Prince Henry’s horsemen penetrated the position. The failure lay in converting that penetration into a wider breakthrough.
The Scottish Rout
Once the Galwegians and the men of Lothian began to withdraw, cohesion rapidly disappeared.
David attempted to remain on the field but was forced away by his companions. Different contingents fled separately, and some reportedly attacked or robbed one another during the retreat. These stories come from hostile English chroniclers, but a coalition army breaking apart under pressure could certainly become dangerous to itself.
Richard of Hexham claimed that more than 10,000 men were missing when the Scottish survivors were gathered. This should not be read as a reliable death toll. It may have included deserters, scattered troops, prisoners and men who returned by different routes.
English losses were described as very light, with one chronicler claiming that only a single knight had been killed. That is equally difficult to accept literally after sustained close fighting.
The safest conclusion is that Scottish casualties were considerably heavier, particularly during the rout. English losses were probably moderate but concealed by victorious writers eager to present the battle as divine judgement.
Contemporary Accounts and Quotes
The battle is unusually well described for a twelfth-century engagement, but the surviving narratives are predominantly English and ecclesiastical. They were written by men who viewed David’s invasion as an assault upon their communities and churches.
Richard of Hexham described the English deployment:
“The greater part of the knights, then dismounting, became foot soldiers.”
His account also claimed that the victorious army suffered only “a small loss”. Richard connected the result directly with divine intervention, a common historical explanation when one lacked casualty returns and perhaps preferred a sermon.
Ailred of Rievaulx praised the determination of the Galwegians even while presenting their methods as reckless. He described them as advancing until the English formation appeared:
“Like a castle, bristling with spears.”
Ailred had once lived at David I’s court and knew members of the Scottish royal household. His account is therefore particularly valuable, but it is also a carefully constructed moral narrative.
Henry of Huntingdon compared the arrows protruding from the Galwegian shields and bodies to the quills of a hedgehog. The image is memorable, perhaps suspiciously memorable, but it conveys the central role that archery played in stopping the attack.
The chroniclers preserve important details, yet none should be treated as a neutral observer. Their Scots are often barbarous, their English defenders pious and their victory providential. Real battlefields tend to be less considerate of literary themes.
Archaeology and the Location of the Battlefield
The location of the battle has caused unnecessary confusion.
Popular accounts often state that it was fought on Cowton Moor. Modern Cowton Moor, however, lies several miles from Northallerton and does not agree with Richard of Hexham’s description of a battlefield roughly two miles north of the town.
Historic England’s battlefield assessment explains that the Cowton Moor association appears to derive from later additions to medieval manuscripts. The registered battlefield is instead centred near Brompton and Standard Hill.
Several pieces of evidence support this location:
- The survival of the place name Standard Hill
- The nearby Scot Pits or Scotpits Lane
- Historical reports of human bones being found in the area
- The site’s agreement with Richard of Hexham’s stated distance from Northallerton
- Terrain suitable for the deployments described in the chronicles
- A position close to the medieval north-south road
In 1675, antiquary William Dugdale referred to hollows known locally as the “Scots Pits”. By the nineteenth century, agricultural work had reportedly exposed human remains nearby. These discoveries were not documented to modern archaeological standards, so they cannot provide a secure casualty count or identification.
The battlefield is now agricultural land. Ploughing has levelled possible burial features, while modern hedges and tree screens have altered the view across the site. Access is limited, although a roadside monument marks the battle.
The site is included on the Register of Historic Battlefields, recognising its national historical importance.
No large, systematically studied assemblage of weapons or armour has been recovered from the battlefield. That absence is unsurprising. Victorious armies stripped useful equipment from the dead, iron objects were valuable, and centuries of cultivation disturbed the ground.
The reported burial pits remain the most intriguing archaeological feature. A modern programme combining geophysical survey, landscape study and carefully targeted excavation could clarify their character. It would need to proceed with appropriate respect if human remains were present.
Why Did the English Win?
The English victory resulted from several connected advantages.
Better Use of Ground
The English selected a defensive position across David’s route. The Scottish army had to advance against troops who were already formed and waiting.
Effective Archery
Archers weakened and disordered the Galwegian attack before it reached the English line. Their contribution was tactical rather than decorative, which cannot always be said of archers in medieval chronicles.
Dismounted Men-at-Arms
The English knights gave the infantry formation an armoured core. They could absorb close combat and reinforce weak points without exposing horses to spears and arrows.
Greater Cohesion
The English army had a clear defensive task and a prominent rallying point. David’s army contained contingents with different leaders, equipment and expectations.
Failure to Support Prince Henry
Henry’s mounted breakthrough offered the Scots their best opportunity. The collapse of the infantry prevented it from being exploited.
Command Disagreement
If Ailred’s account is broadly correct, David compromised his preferred deployment by allowing the Galwegians to lead. Their attack was courageous but poorly suited to the English position.
Aftermath
The defeat did not destroy David’s army or remove Scottish influence from northern England.
David retreated to Carlisle and continued the siege of Wark. Prince Henry survived, while the English army dispersed relatively quickly after its victory. There was no sustained pursuit into Scotland and no attempt to conquer David’s kingdom.
In 1139, the Treaty of Durham granted Prince Henry extensive territory in northern England, including the earldom of Northumberland, though important castles remained under English control.
This makes the political outcome rather awkward. David lost the battle decisively, yet still secured much of what he had been seeking. Medieval warfare often rewarded survival and negotiation more reliably than dramatic battlefield success.
For King Stephen, the victory provided welcome relief during the early stages of the Anarchy. However, it was won without him and did little to settle the wider struggle against Matilda.
William of Aumale and Robert de Ferrers received earldoms, rewards that recognised both their service and Stephen’s continuing need for loyal regional powerbrokers.
Historical Significance
The Battle of the Standard mattered for several reasons.
It halted David’s immediate advance into Yorkshire and demonstrated that northern England could organise an effective defence without the king. It also showed the growing tactical value of combining archers with dismounted men-at-arms.
The battle should not, however, be presented as an early rehearsal for the great Anglo-Scottish battles of the fourteenth century. The political identities, military institutions and weapons of 1138 were different from those at Falkirk, Bannockburn or Halidon Hill.
Nor was this a clean confrontation between two unified nations. David I was closely connected to the Anglo-Norman aristocracy. Several English nobles had lands or loyalties on both sides of the border. His army contained Norman knights, while the English defence depended upon regional levies and ecclesiastical organisation.
What stands out is the contrast between tactical and political success. The English won the field, protected Yorkshire and celebrated a sacred victory. David survived, retained his authority and gained extensive concessions the following year.
The wagon bearing its crowded mast of banners became the enduring image of the battle. Yet beneath the religious spectacle lay a practical military achievement: disciplined troops held favourable ground, archers disrupted the assault, and a coalition army failed to turn bravery into coordination.
That explanation is less miraculous than the chroniclers preferred, but considerably more convincing.
Frequently Asked Questions
Who won the Battle of the Standard?
The northern English army defeated David I’s Scottish army. The Scottish retreat became a rout, although David and Prince Henry both escaped.
Why was it called the Battle of the Standard?
The English army gathered around a wagon carrying a mast decorated with sacred banners from York, Beverley and Ripon. This structure became known as the Standard.
Where was the Battle of the Standard fought?
It was fought near Brompton, approximately two miles north of Northallerton in North Yorkshire. The familiar claim that it occurred on modern Cowton Moor results from later manuscript confusion.
How many men fought in the battle?
The true numbers are unknown. Estimates of around 10,000 English and 16,000 Scots are frequently repeated but cannot be verified from contemporary evidence.
Did the English use longbows?
The sources describe effective English archery, but they do not establish that every archer carried the developed military longbow associated with later centuries. The safest term is wooden self bow.
What swords were used?
Wealthier warriors probably carried single-handed cruciform arming swords. Surviving blades of the period are generally comparable to Oakeshott Types X, Xa and early XI.
Did the Battle of the Standard end the Scottish invasion?
It stopped David’s immediate advance into Yorkshire, but it did not end his campaign or erase his territorial gains. The Treaty of Durham in 1139 granted substantial northern lands to his son Henry.
Can the battlefield be visited?
A roadside monument marks the registered battlefield near Northallerton. Much of the site is agricultural land, and public access across it is limited.