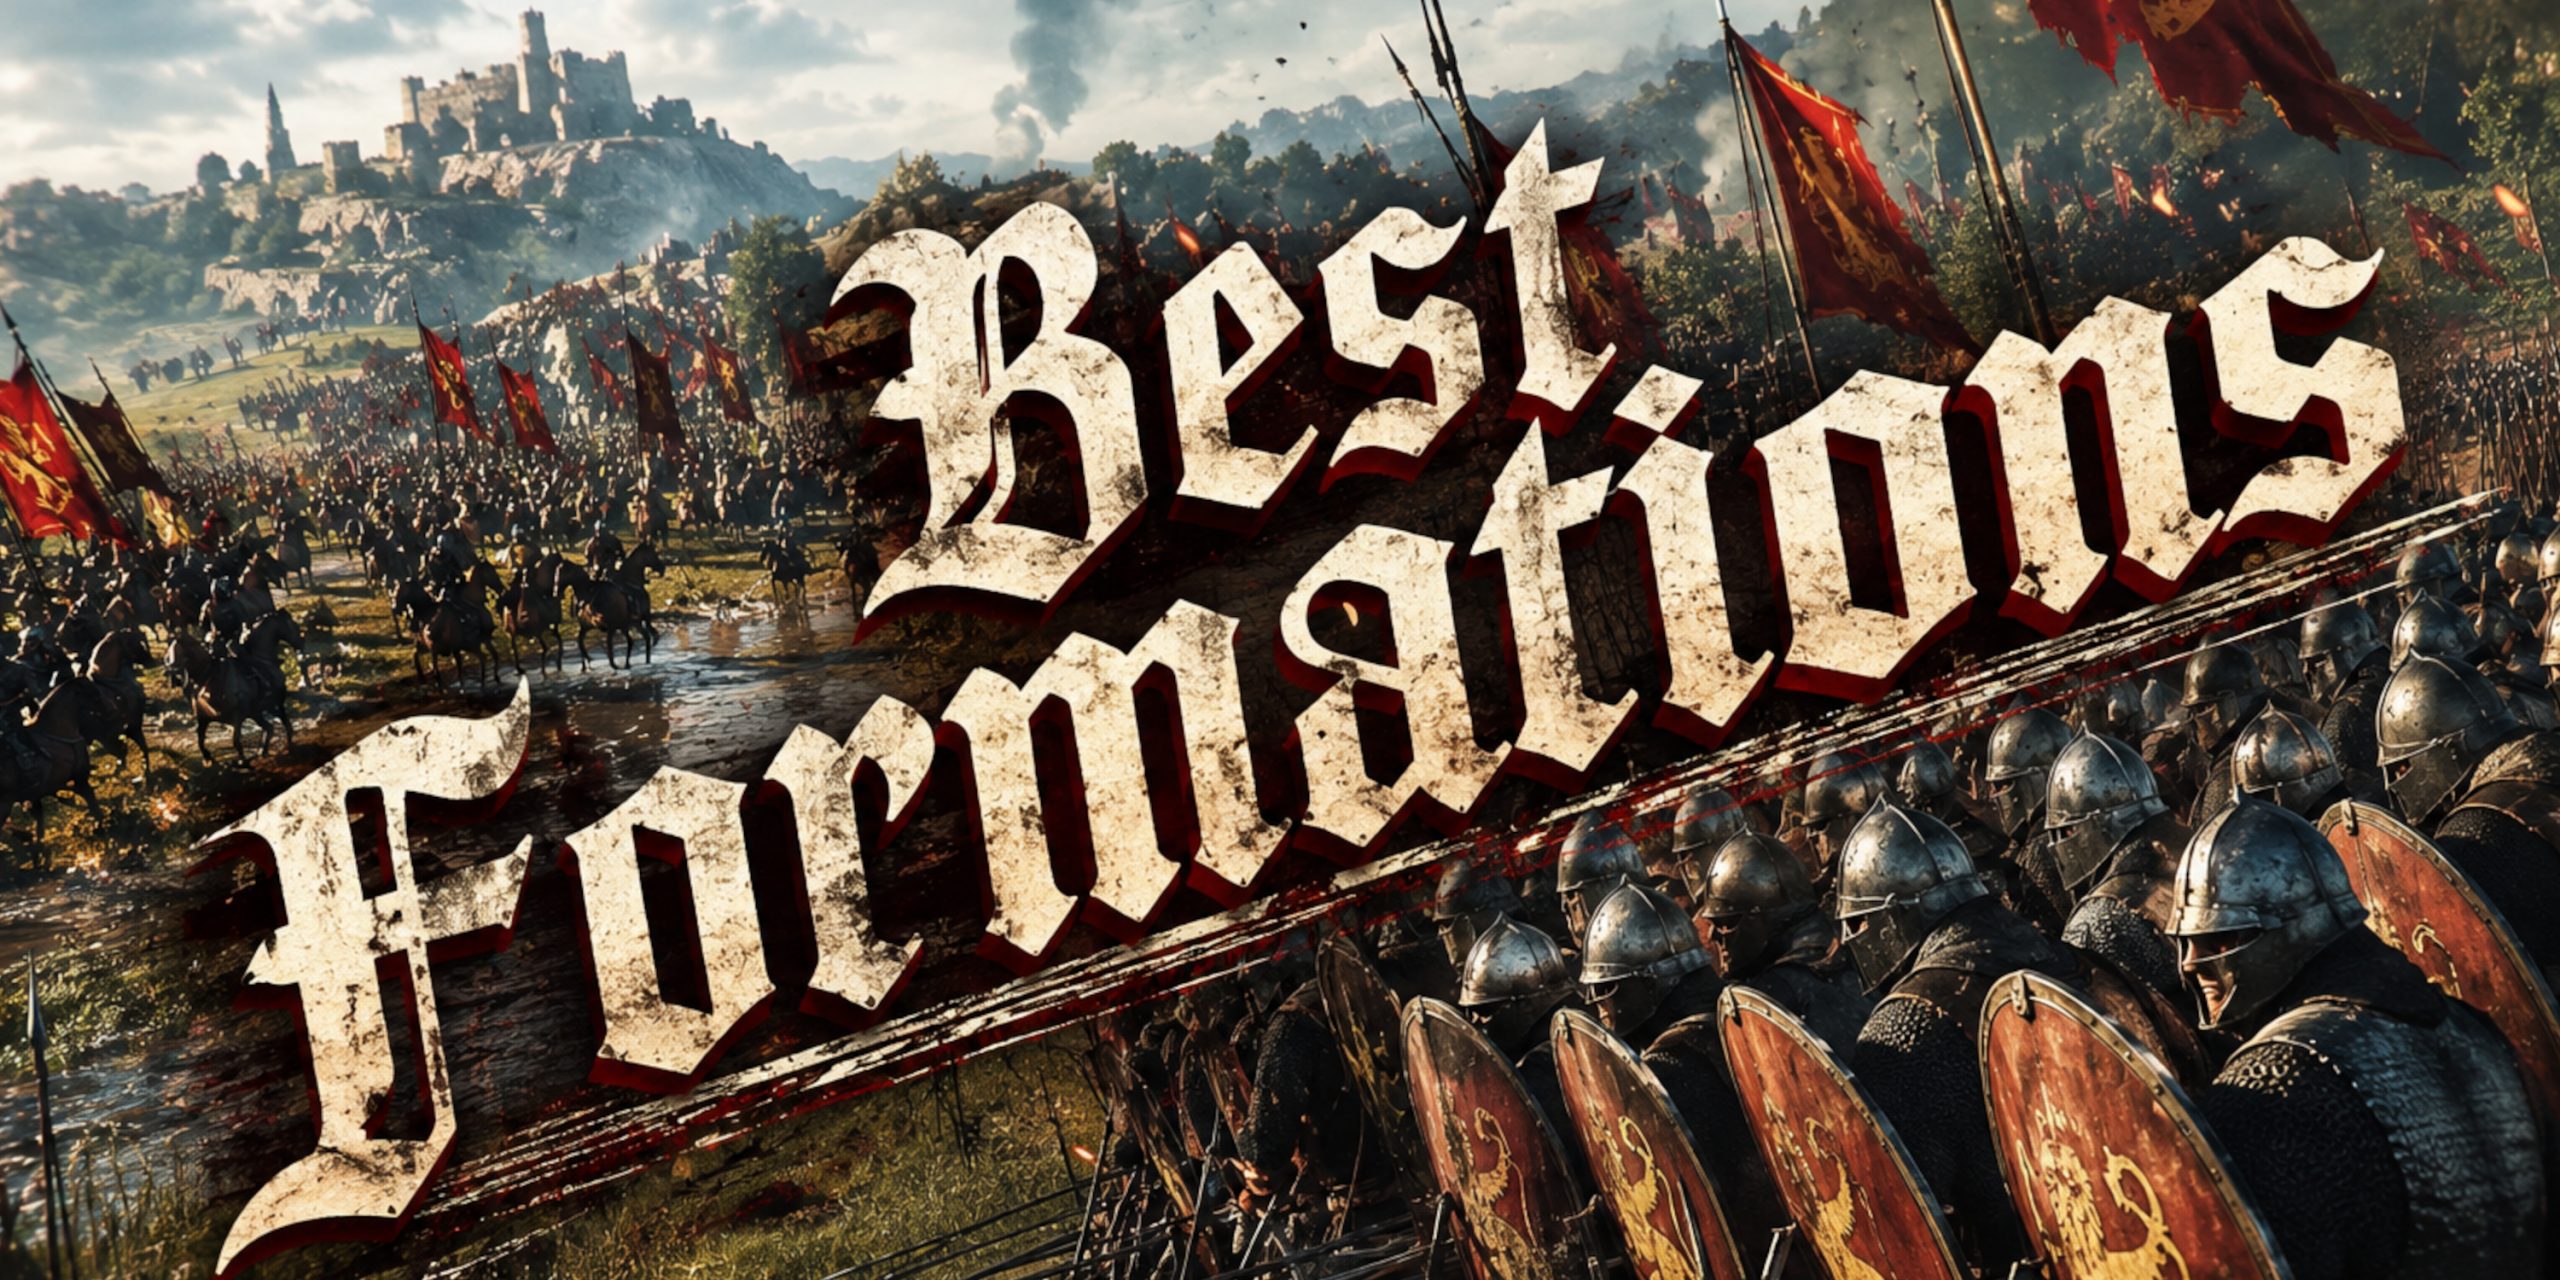
Winning battles in Mount & Blade II: Bannerlord is not just about having the biggest army. Anyone who has watched 300 recruits enthusiastically sprint into a wall of Vlandian knights learns that lesson fairly quickly.
Bannerlord rewards players who understand positioning, terrain and timing. A smaller disciplined force can break a larger army by using formations correctly, while a poorly organised army can lose despite having elite troops.
The best commanders think less like a button masher and more like a battlefield manager. Your troops are dangerous tools. You just need to stop throwing those tools directly into a cavalry charge.
Why Formations Matter in Bannerlord
Formations control:
- How well infantry survives missile fire
- Whether cavalry charges break through
- How efficiently archers fire
- How vulnerable your army is to flanking
- How quickly troops react to threats
A strong formation does three things:
- Protects your weaknesses
- Maximises your strongest units
- Forces enemies into bad fights
The AI is much better than early Mount & Blade games at punishing lazy tactics, although it still occasionally behaves like a medieval commander who skipped breakfast.
Best Bannerlord Formations Ranked
Shield Wall Formation
Best for: Heavy infantry, defensive battles, absorbing charges
The shield wall is probably the most reliable formation in Bannerlord. It creates a dense defensive line where shield-bearing infantry lock together and absorb punishment.
Best units:
- Imperial Legionaries
- Sturgian Heavy Spearmen
- Vlandian Sergeants
- Battanian Oathsworn
Strengths
- Excellent against arrows
- Stops light cavalry charges
- Protects weaker troops behind it
- Great for holding hills and chokepoints
Weaknesses
- Moves slowly
- Reduces offensive pressure
- Vulnerable if surrounded
The shield wall is the classic “come and have a go then” strategy. Put tough infantry at the front, archers behind, and let impatient enemies ruin their own afternoon.
Loose Formation
Best for: Archers, avoiding missile damage
Loose formation spreads troops apart, making them harder targets for enemy archers and allowing ranged units to fire without blocking each other.
Best units:
- Battanian Fian Champions
- Imperial Palatine Guards
- Aserai Master Archers
- Khuzait Marksmen
Strengths
- Maximises ranged damage
- Reduces casualties from arrows
- Great before melee contact
Weaknesses
- Terrible against cavalry
- Weak in close combat
- Needs protection
Loose formation is almost mandatory for elite archers. A line of Fian Champions on high ground can delete armies before the sword swinging even begins.
Line Formation
Best for: Balanced infantry combat
The basic line formation is easy to underestimate. It allows infantry to maximise their fighting width and surround enemies.
Best units:
- Two-handed infantry
- Shock troops
- Mixed melee units
Strengths
- More weapons attacking at once
- Flexible movement
- Good for advancing
Weaknesses
- Poor missile protection
- Less effective against cavalry
A shield wall survives. A line formation kills. Knowing when to switch between them is where Bannerlord battles become interesting.
Square Formation
Best for: Surviving cavalry attacks
The square is the emergency button when hundreds of angry horsemen appear on the horizon.
Best units:
- Spearmen
- Heavy infantry
- Shield infantry
Strengths
- Protects all sides
- Difficult for cavalry to break
- Prevents surrounding attacks
Weaknesses
- Limited mobility
- Poor offensive ability
- Vulnerable to mass archers
Square formation is not glamorous. Nobody writes songs about standing in a rectangle. They do write songs about surviving though.
Skein Formation
Best for: Cavalry charges
Skein creates a wedge-like cavalry attack designed to concentrate force into one area.
Best units:
- Vlandian Banner Knights
- Imperial Elite Cataphracts
- Khuzait Heavy Lancers
Strengths
- Powerful breakthrough charges
- Great against scattered enemies
- Devastating from the flank
Weaknesses
- Dangerous against prepared spearmen
- Needs space
- Requires timing
Charging cavalry straight into a shield wall is basically donating horses. Use terrain, attack from angles and pull cavalry back after impact.
Circle Formation
Best for: Defensive survival situations
Circle formation places troops facing outward, protecting against attacks from multiple directions.
Best uses:
- Being surrounded
- Protecting archers
- Defensive last stands
Strengths
- Full direction protection
- Useful against cavalry harassment
Weaknesses
- Weak attacking power
- Can trap your own troops
Circle formation is rarely your first choice, but when everything goes wrong it can turn disaster into a heroic survival story.
Best Combined Army Formations
The Classic Infantry Wall
Setup:
Front:
Shield infantry in shield wall
Behind:
Archers in loose formation
Sides:
Cavalry waiting for flank attacks
Works best against:
- Infantry armies
- Mixed armies
- Enemy archers
This is the dependable Bannerlord setup. Simple, brutal and historically sensible.
The Battanian Archer Fortress
Setup:
Front:
Small shield infantry force
High ground:
Fian Champions in loose formation
Reserve:
Cavalry protecting flanks
Works best against:
- Large infantry armies
- Slow opponents
Few things in Bannerlord are more satisfying than watching elite archers turn an enemy advance into a very slow mistake.
The Khuzait Horse Army
Setup:
Main force:
Horse archers in loose formation
Support:
Heavy cavalry
Reserve:
Small infantry line
Works best against:
- Slow infantry armies
- Armies without strong missile troops
The strategy is simple. Annoy everyone until they break. Historically accurate and deeply irritating.
Best Formations by Faction
| Faction | Best Formation Style |
|---|---|
| Empire | Shield wall with balanced support |
| Vlandia | Heavy cavalry flanking tactics |
| Battania | Defensive infantry protecting elite archers |
| Sturgia | Dense infantry formations |
| Khuzait | Mobile cavalry warfare |
| Aserai | Flexible mixed formations |
Advanced Bannerlord Formation Tips
Use Terrain
High ground is incredibly powerful. Archers gain better angles and attackers become easier targets.
Do Not Charge Too Early
The F1 + F3 approach works against bandits. Against serious armies, it creates a medieval traffic accident.
Keep Reserves
Having a second infantry group or unused cavalry force allows you to react when the enemy changes tactics.
Protect Your Archers
Elite archers are some of the strongest troops in Bannerlord, but only if they are not busy fighting cavalry with tiny knives.
Rotate Damaged Units
Pulling battered formations backwards and allowing fresh troops forward can completely change longer battles.
Best Overall Formation in Bannerlord
For most battles, the strongest general setup is:
- Infantry: Shield wall
- Archers: Loose formation behind infantry
- Cavalry: Skein formation on the flanks
- Horse archers: Loose formation harassing sides
It works because every unit has a job. Infantry controls space, archers create damage, cavalry punishes mistakes and horse archers cause chaos.
Bannerlord battles are at their best when they feel like organised madness. Good formations will not save every fight, but they turn your army from a screaming crowd with swords into something that actually resembles a professional medieval force.
Meta Description: Discover the best battle formations in Mount & Blade II: Bannerlord, including shield walls, cavalry charges, archer tactics and advanced army strategies.
Introduction
Winning battles in Mount & Blade II: Bannerlord is not just about having the biggest army. Anyone who has watched 300 recruits enthusiastically sprint into a wall of Vlandian knights learns that lesson fairly quickly.
Bannerlord rewards players who understand positioning, terrain and timing. A smaller disciplined force can break a larger army by using formations correctly, while a poorly organised army can lose despite having elite troops.
The best commanders think less like a button masher and more like a battlefield manager. Your troops are dangerous tools. You just need to stop throwing those tools directly into a cavalry charge.
Why Formations Matter in Bannerlord
Formations control:
- How well infantry survives missile fire
- Whether cavalry charges break through
- How efficiently archers fire
- How vulnerable your army is to flanking
- How quickly troops react to threats
A strong formation does three things:
- Protects your weaknesses
- Maximises your strongest units
- Forces enemies into bad fights
The AI is much better than early Mount & Blade games at punishing lazy tactics, although it still occasionally behaves like a medieval commander who skipped breakfast.
Best Bannerlord Formations Ranked
Shield Wall Formation
Best for: Heavy infantry, defensive battles, absorbing charges
The shield wall is probably the most reliable formation in Bannerlord. It creates a dense defensive line where shield-bearing infantry lock together and absorb punishment.
Best units:
- Imperial Legionaries
- Sturgian Heavy Spearmen
- Vlandian Sergeants
- Battanian Oathsworn
Strengths
- Excellent against arrows
- Stops light cavalry charges
- Protects weaker troops behind it
- Great for holding hills and chokepoints
Weaknesses
- Moves slowly
- Reduces offensive pressure
- Vulnerable if surrounded
The shield wall is the classic “come and have a go then” strategy. Put tough infantry at the front, archers behind, and let impatient enemies ruin their own afternoon.
Loose Formation
Best for: Archers, avoiding missile damage
Loose formation spreads troops apart, making them harder targets for enemy archers and allowing ranged units to fire without blocking each other.
Best units:
- Battanian Fian Champions
- Imperial Palatine Guards
- Aserai Master Archers
- Khuzait Marksmen
Strengths
- Maximises ranged damage
- Reduces casualties from arrows
- Great before melee contact
Weaknesses
- Terrible against cavalry
- Weak in close combat
- Needs protection
Loose formation is almost mandatory for elite archers. A line of Fian Champions on high ground can delete armies before the sword swinging even begins.
Line Formation
Best for: Balanced infantry combat
The basic line formation is easy to underestimate. It allows infantry to maximise their fighting width and surround enemies.
Best units:
- Two-handed infantry
- Shock troops
- Mixed melee units
Strengths
- More weapons attacking at once
- Flexible movement
- Good for advancing
Weaknesses
- Poor missile protection
- Less effective against cavalry
A shield wall survives. A line formation kills. Knowing when to switch between them is where Bannerlord battles become interesting.
Square Formation
Best for: Surviving cavalry attacks
The square is the emergency button when hundreds of angry horsemen appear on the horizon.
Best units:
- Spearmen
- Heavy infantry
- Shield infantry
Strengths
- Protects all sides
- Difficult for cavalry to break
- Prevents surrounding attacks
Weaknesses
- Limited mobility
- Poor offensive ability
- Vulnerable to mass archers
Square formation is not glamorous. Nobody writes songs about standing in a rectangle. They do write songs about surviving though.
Skein Formation
Best for: Cavalry charges
Skein creates a wedge-like cavalry attack designed to concentrate force into one area.
Best units:
- Vlandian Banner Knights
- Imperial Elite Cataphracts
- Khuzait Heavy Lancers
Strengths
- Powerful breakthrough charges
- Great against scattered enemies
- Devastating from the flank
Weaknesses
- Dangerous against prepared spearmen
- Needs space
- Requires timing
Charging cavalry straight into a shield wall is basically donating horses. Use terrain, attack from angles and pull cavalry back after impact.
Circle Formation
Best for: Defensive survival situations
Circle formation places troops facing outward, protecting against attacks from multiple directions.
Best uses:
- Being surrounded
- Protecting archers
- Defensive last stands
Strengths
- Full direction protection
- Useful against cavalry harassment
Weaknesses
- Weak attacking power
- Can trap your own troops
Circle formation is rarely your first choice, but when everything goes wrong it can turn disaster into a heroic survival story.
Best Combined Army Formations
The Classic Infantry Wall
Setup:
Front:
Shield infantry in shield wall
Behind:
Archers in loose formation
Sides:
Cavalry waiting for flank attacks
Works best against:
- Infantry armies
- Mixed armies
- Enemy archers
This is the dependable Bannerlord setup. Simple, brutal and historically sensible.
The Battanian Archer Fortress
Setup:
Front:
Small shield infantry force
High ground:
Fian Champions in loose formation
Reserve:
Cavalry protecting flanks
Works best against:
- Large infantry armies
- Slow opponents
Few things in Bannerlord are more satisfying than watching elite archers turn an enemy advance into a very slow mistake.
The Khuzait Horse Army
Setup:
Main force:
Horse archers in loose formation
Support:
Heavy cavalry
Reserve:
Small infantry line
Works best against:
- Slow infantry armies
- Armies without strong missile troops
The strategy is simple. Annoy everyone until they break. Historically accurate and deeply irritating.
Best Formations by Faction
| Faction | Best Formation Style |
|---|---|
| Empire | Shield wall with balanced support |
| Vlandia | Heavy cavalry flanking tactics |
| Battania | Defensive infantry protecting elite archers |
| Sturgia | Dense infantry formations |
| Khuzait | Mobile cavalry warfare |
| Aserai | Flexible mixed formations |
Advanced Bannerlord Formation Tips
Use Terrain
High ground is incredibly powerful. Archers gain better angles and attackers become easier targets.
Do Not Charge Too Early
The F1 + F3 approach works against bandits. Against serious armies, it creates a medieval traffic accident.
Keep Reserves
Having a second infantry group or unused cavalry force allows you to react when the enemy changes tactics.
Protect Your Archers
Elite archers are some of the strongest troops in Bannerlord, but only if they are not busy fighting cavalry with tiny knives.
Rotate Damaged Units
Pulling battered formations backwards and allowing fresh troops forward can completely change longer battles.
Best Overall Formation in Bannerlord
For most battles, the strongest general setup is:
- Infantry: Shield wall
- Archers: Loose formation behind infantry
- Cavalry: Skein formation on the flanks
- Horse archers: Loose formation harassing sides
It works because every unit has a job. Infantry controls space, archers create damage, cavalry punishes mistakes and horse archers cause chaos.
Bannerlord battles are at their best when they feel like organised madness. Good formations will not save every fight, but they turn your army from a screaming crowd with swords into something that actually resembles a professional medieval force.