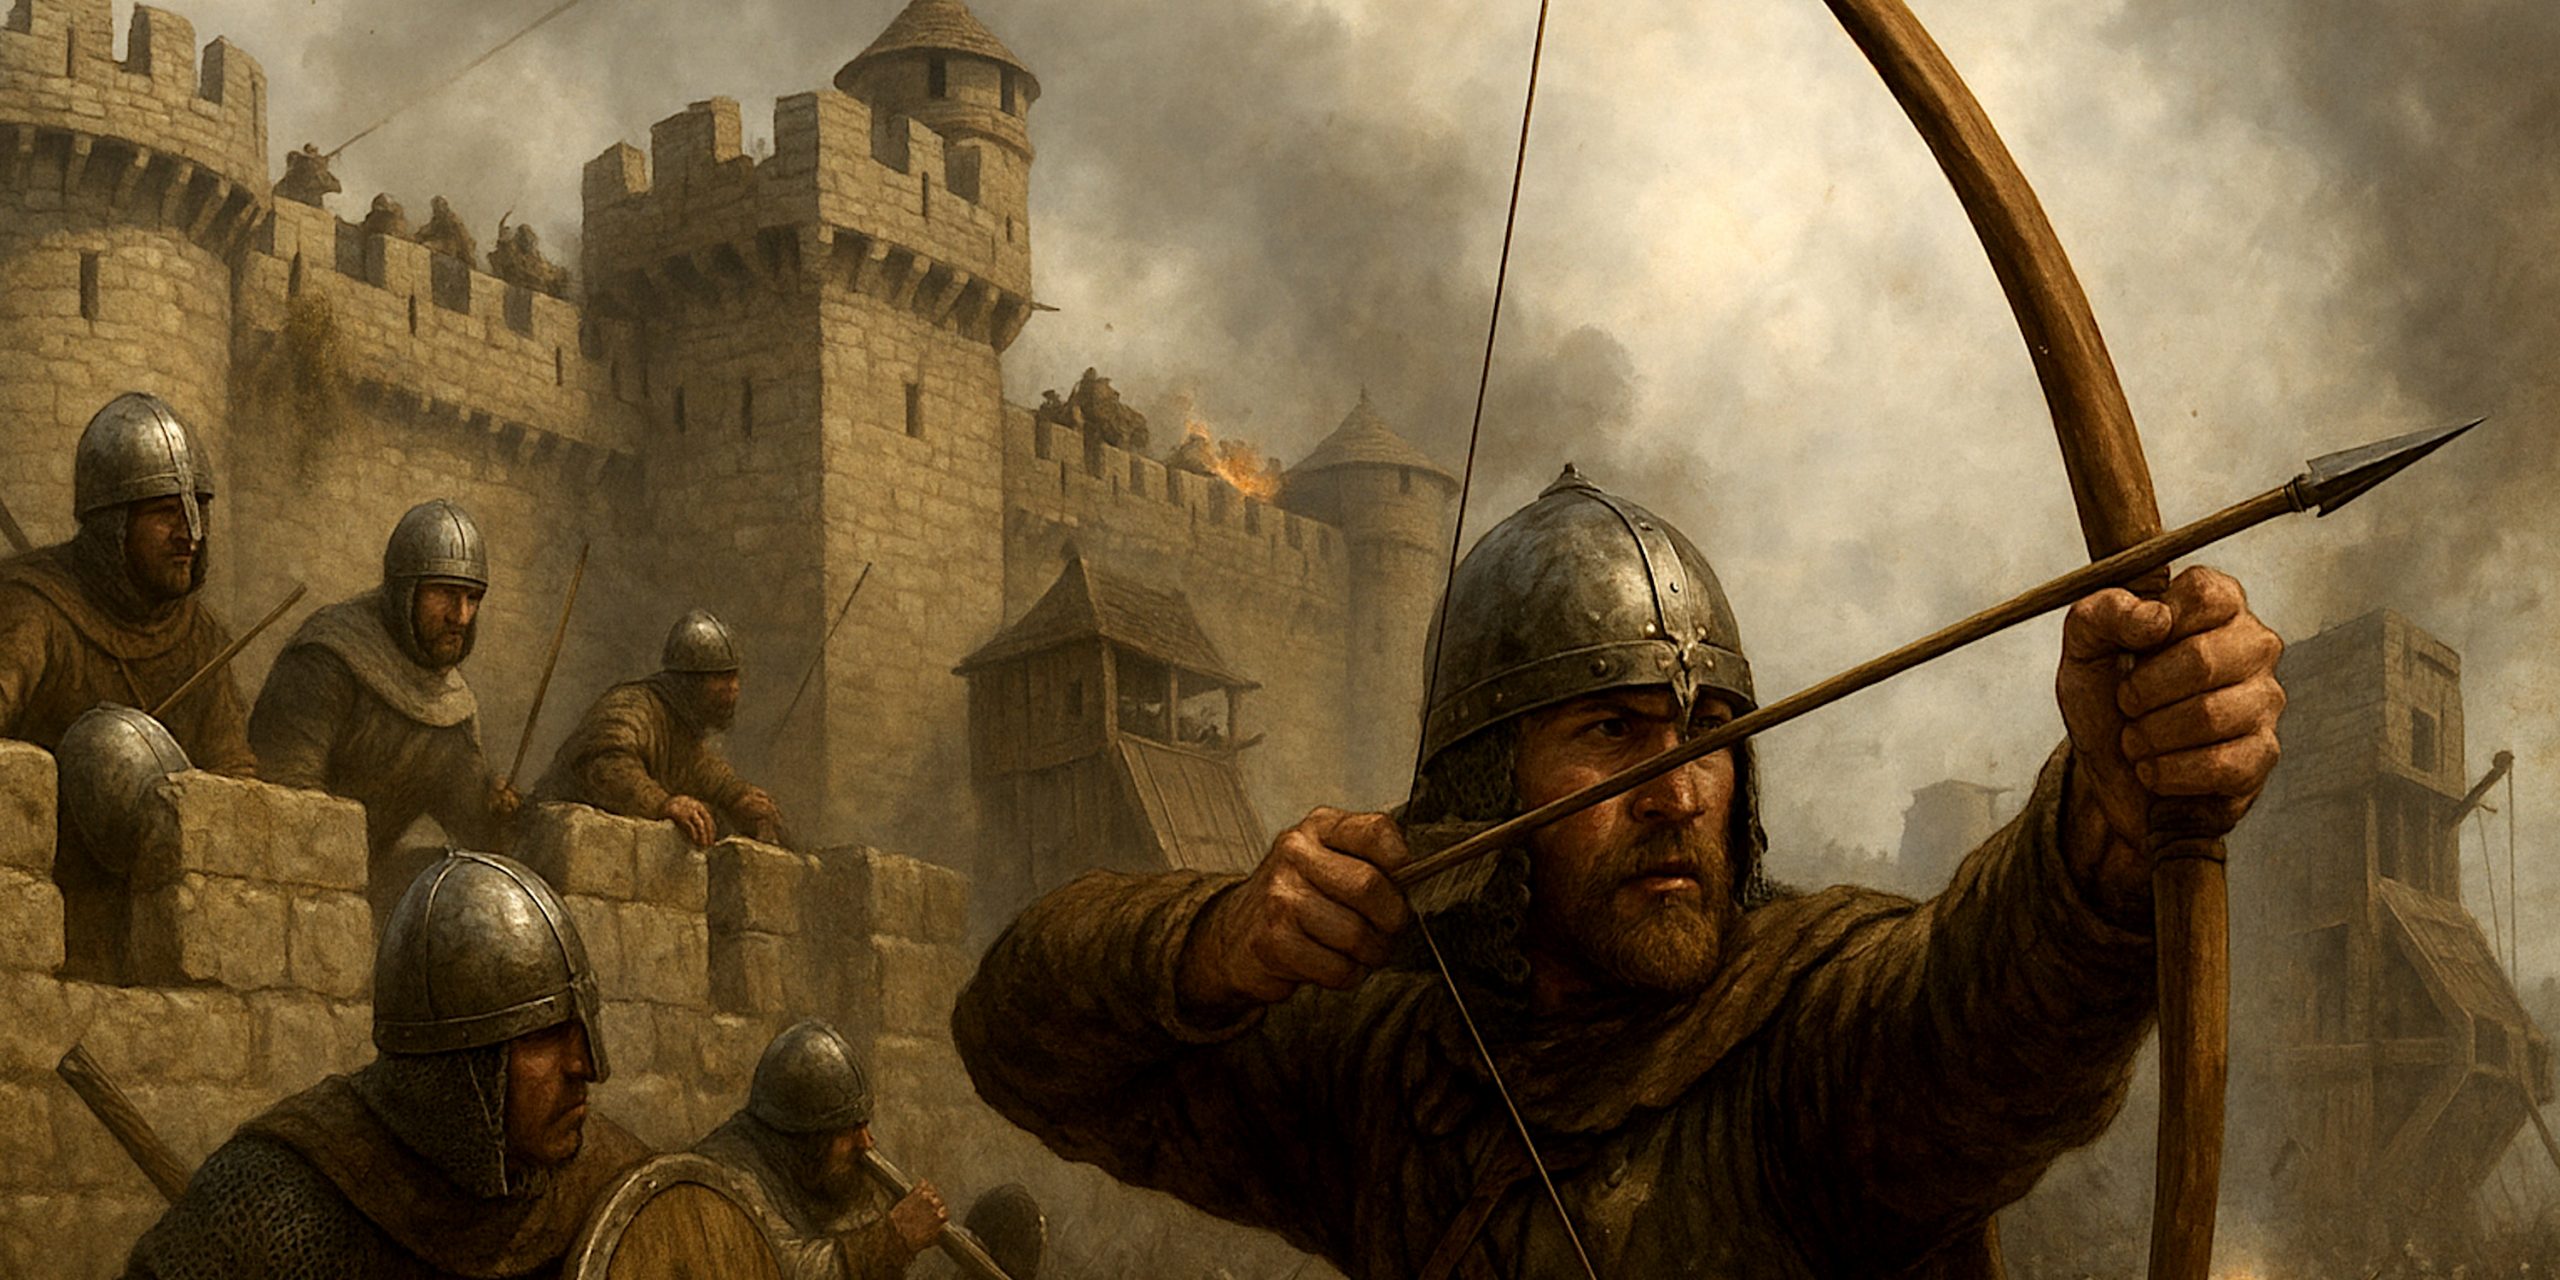
Defending a fortress in Mount & Blade II: Bannerlord is a tense mix of preparation, precision, and grit. A smaller defending force can outlast a larger army if the walls are used effectively. This guide breaks the process into clear steps to help you survive and win siege defences.
Step 1: Preparing Before the Siege
- Check garrison composition: Make sure you have a balanced mix of infantry and ranged units. Even lower-tier archers can do significant damage from the walls.
- Stock supplies: Food is vital. Running out during a siege will collapse morale before the enemy even breaches.
- Repair fortifications: If possible, use the pre-siege period to build extra ballistae, mangonels, and reinforce the walls.
Preparation often decides whether a castle holds or falls.
Step 2: Anticipating Enemy Movements
Attackers will usually target one or two key points: ladders, siege towers, or the gate with a ram. Watch where they place their engines and prepare to counter. Place your strongest archers opposite ladders and towers, and keep infantry in reserve near the gatehouse.
Step 3: Controlling the Walls
- Archers: Position them along the wall walkways for maximum lines of fire. Place some in towers to extend their range and give them height advantage.
- Infantry: Keep them near chokepoints but do not commit them too early. A handful of troops at the ladders can delay attackers long enough for archers to thin the ranks.
- Player role: Use a bow, crossbow, or thrown weapons to target enemy officers, siege crew, and heavily armoured troops. Eliminating key figures early slows the assault.
Step 4: Targeting Siege Equipment
- Ballistae: Use these for pinpoint accuracy against towers and rams.
- Mangonels: Fire into dense groups waiting behind shields.
- Stones and oil: Save these for when enemies reach the gatehouse.
Always prioritise destroying the ram before it reaches the gate. Once the gate is down, the enemy has a straight path inside.
Step 5: Holding the Breach
When ladders are raised or towers dock, this is the critical moment:
- Place infantry directly at the top of ladders and narrow wall walkways.
- Use polearms to keep enemies at a distance.
- Keep archers firing until the wall section is overrun, then fall back to the next line of defence.
If the gate breaks, fight in the courtyard’s choke points rather than in the open.
Step 6: Falling Back to the Keep
If the outer walls are lost, retreat to the keep. The keep defence scenario is brutal but often favours the defender. Narrow staircases and doorways allow small groups of well-armoured infantry to hold back large numbers. Cavalry can be effective in tight last-stand moments if used for sudden shock charges.
Step 7: Surviving and Counterattacking
If the enemy is exhausted or has taken heavy casualties, a counterattack from the keep can sometimes reclaim the courtyard. Use this carefully, if your men are too few, focus on surviving to trigger the siege defence victory.
Common Mistakes to Avoid
- Leaving siege equipment unmanned. Uncontrolled engines are wasted assets.
- Ignoring the ram until too late. Once the gate falls, the defence becomes much harder.
- Overcommitting infantry too soon. Hold reserves for the breach.
Seven Swwords Takeaway
A successful siege defence in Bannerlord is about discipline. Walls, towers, and siege engines give you the edge, but only if used smartly. By preparing beforehand, controlling troop placement, and knowing when to commit your forces, you can withstand even overwhelming odds. Few victories in the game feel as rewarding as repelling a determined siege.


