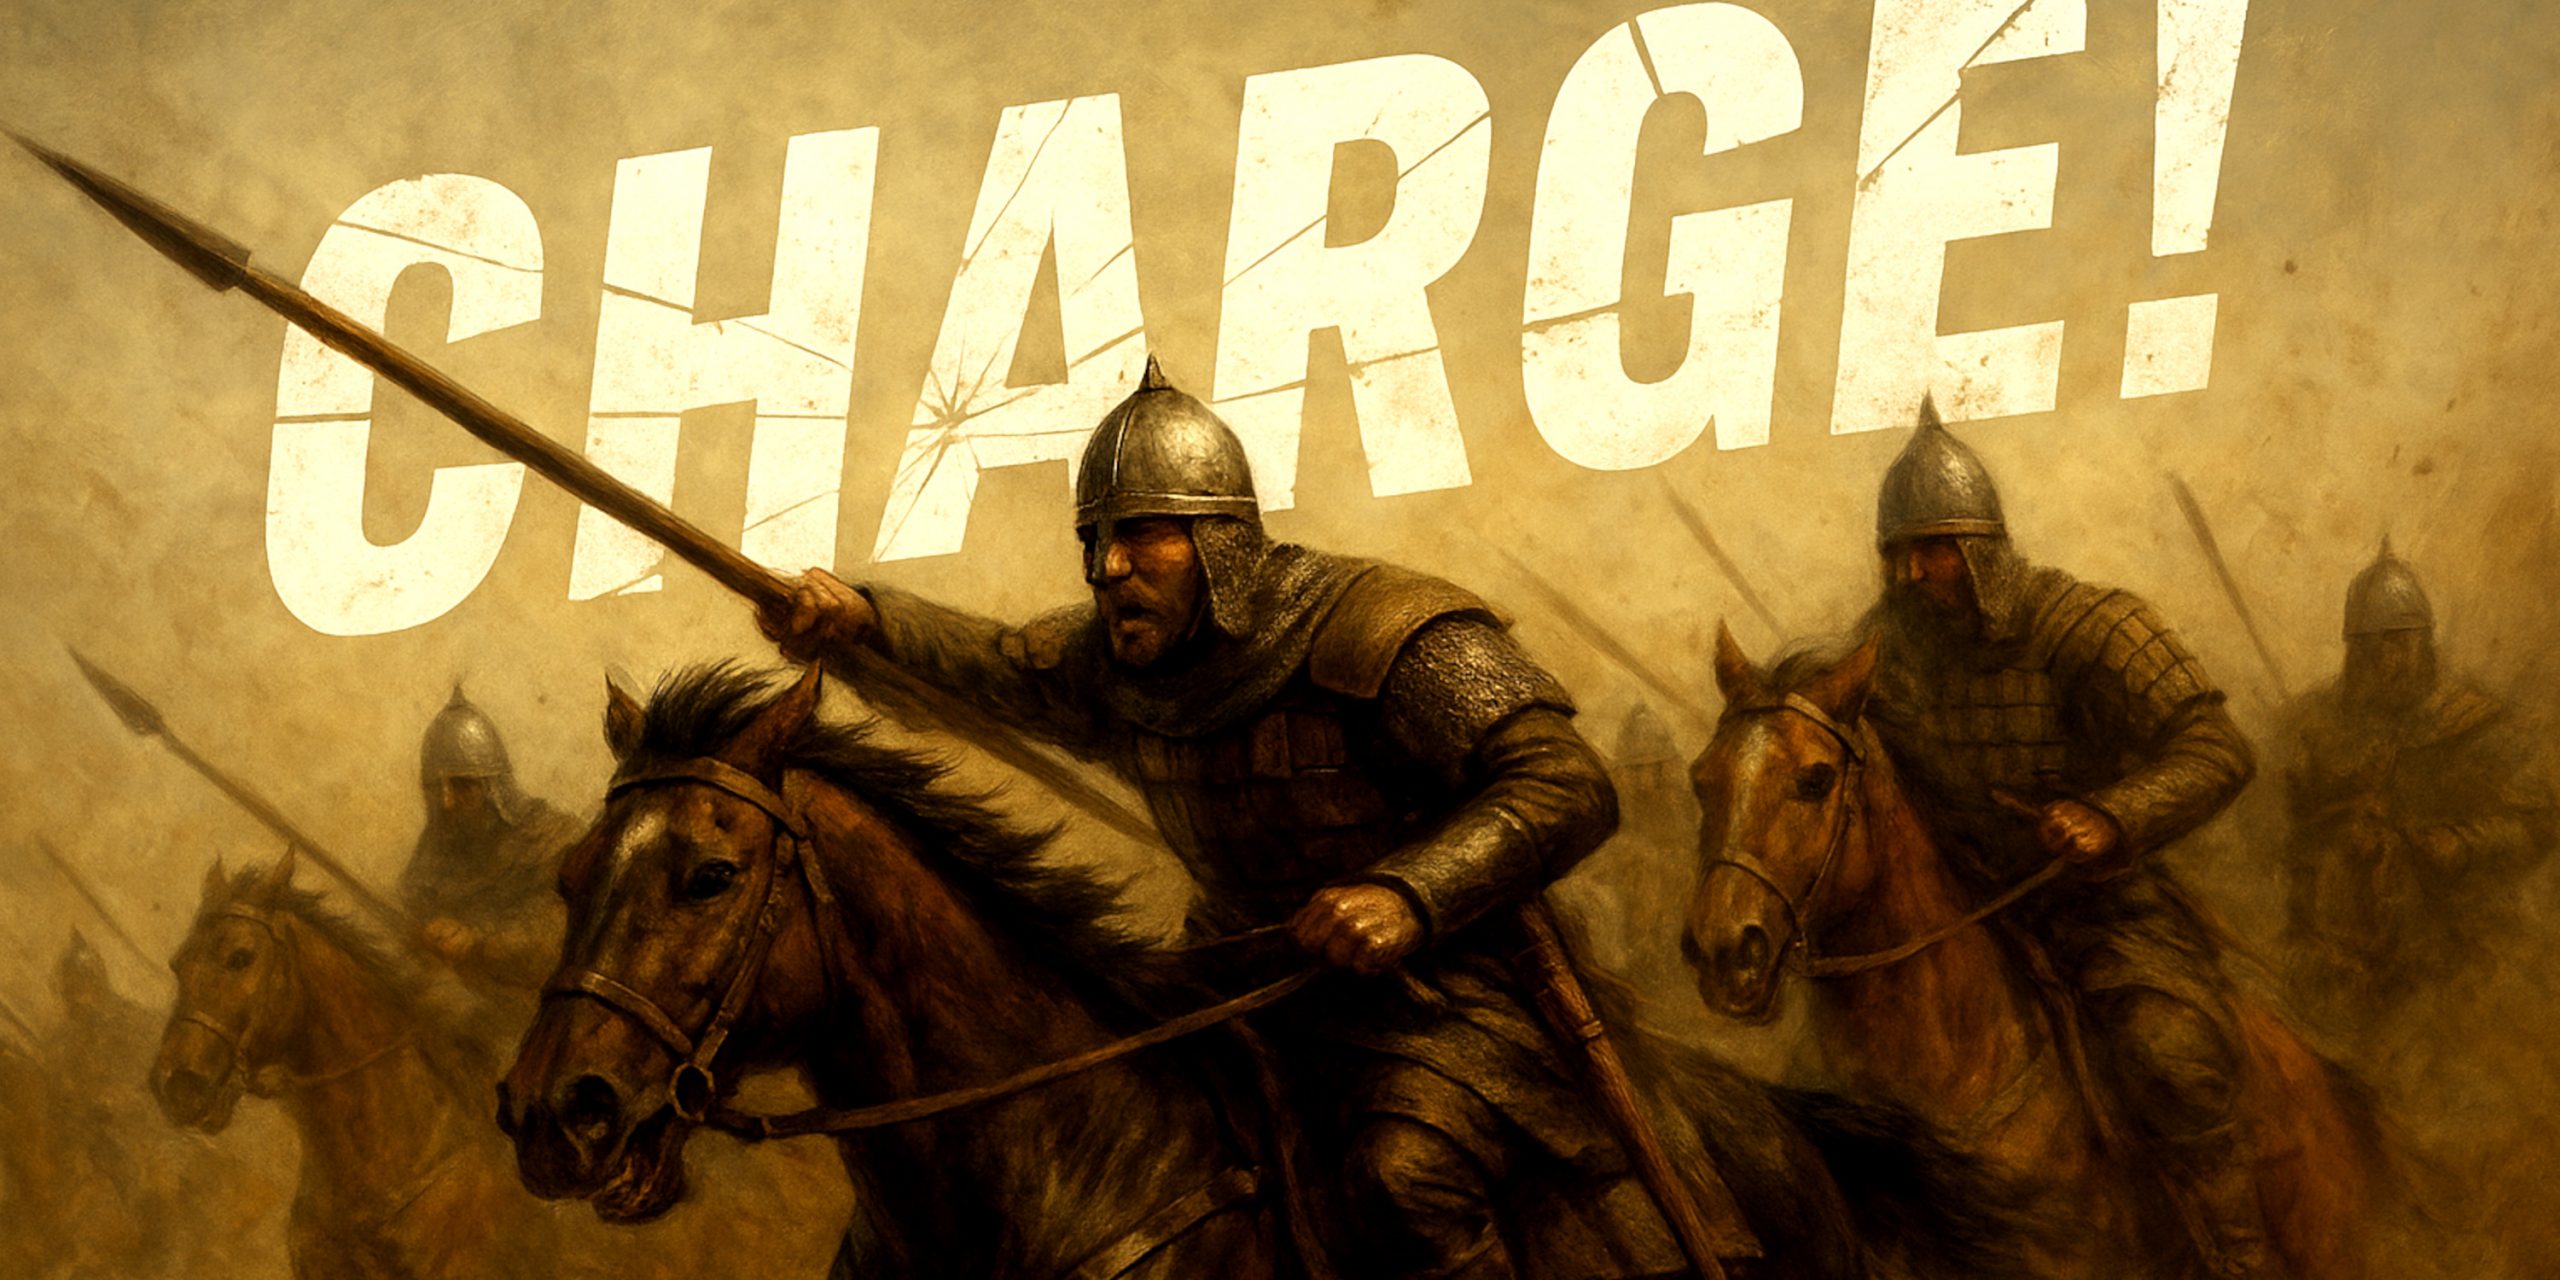
I will admit it. There is something deeply satisfying about watching a line of cavalry thunder across the field while the enemy suddenly remembers unfinished business back home. The trouble is that most players hit charge and hope the horses sort it out. Bannerlord is not that kind. Cavalry win fights only when you guide them with a bit of thought instead of pure enthusiasm.
Below is the approach that finally stopped my mounted units from slowing to a dainty trot while tapping shields like polite dinner guests.
Why Cavalry Charges Matter
Cavalry are your momentum makers. They create shock, they break formations and they decide when the tempo of the fight shifts. Used properly, they give you control over the flow of a battle instead of leaving you stuck reacting to whatever the enemy feels like doing.
Pick the Right Troops
Different cavalry serve different purposes. Some are built to smash straight into a shield wall. Others are better suited to sweeping arcs and harassing archer lines.
Reliable shock cavalry options
- Vlandian Banner Knights
- Imperial Cataphracts
- Khuzait Heavy Lancers
Built for raw impact.
Fast harassment cavalry options
- Khuzait Horse Raiders
- Aserai Mameluke Regulars
Great for ruining an archer’s confidence.
Positioning Before the Charge
This is where most people slip up. Cavalry need a clean line of approach. You cannot send them in from random angles and expect a miracle.
Good positioning habits
- Move them to the flank or rear
- Give them a long and clear run up
- Avoid slopes that kill their speed
Think of them like medieval aircraft in desperate need of a runway.
When to Charge
A charge works best when the enemy is already distracted or locked in combat.
Strong moments to commit
- When your infantry has pinned the enemy
- When enemy lines stretch or lose shape
- When archers are exposed
A distracted foe is perfect for a devastating hit.
How to Charge Properly
Momentum decides everything. Your cavalry must build speed, and that means you should take an active role.
Useful controls and commands
- Use Line formation for an even strike
- Lead them with Follow Me to set the angle
- Release them with Charge at full speed
Done right, the impact feels like tossing a boulder into a sandcastle. Done wrong, they slide in gently like a group arriving late to a wedding.
Cycling Your Cavalry
Never let cavalry sit inside an infantry block. That is where they go to disappear.
Cycle charge technique
- Pull them back with Follow Me
- Fall back to safety
- Hit again from a new angle
Treat them like a weapon that hits hardest in short, controlled bursts.
Countering Enemy Cavalry
You will face plenty of mounted units yourself.
Effective counters
- Spear infantry in tight formation
- Your own cavalry hitting their flank
- Archers sheltered behind infantry
Avoid chasing cavalry with infantry. They will kite you endlessly like a bored cat with string.
Mistakes Everyone Makes
- Charging uphill
- Forgetting to pull back
- Using light cavalry as shock troops
- Letting them blob into infantry
- Charging into braced spears
I have made every one of these, usually within five minutes of telling myself I would not.
Seven Swords Takeaway
Good cavalry charges feel like controlled havoc. Give them a clear path, a smart angle and the right moment, and they will rip through enemy lines with a force that never stops feeling impressive. Mismanage them, and you end up with a scattered mess of horses wondering what went wrong.

