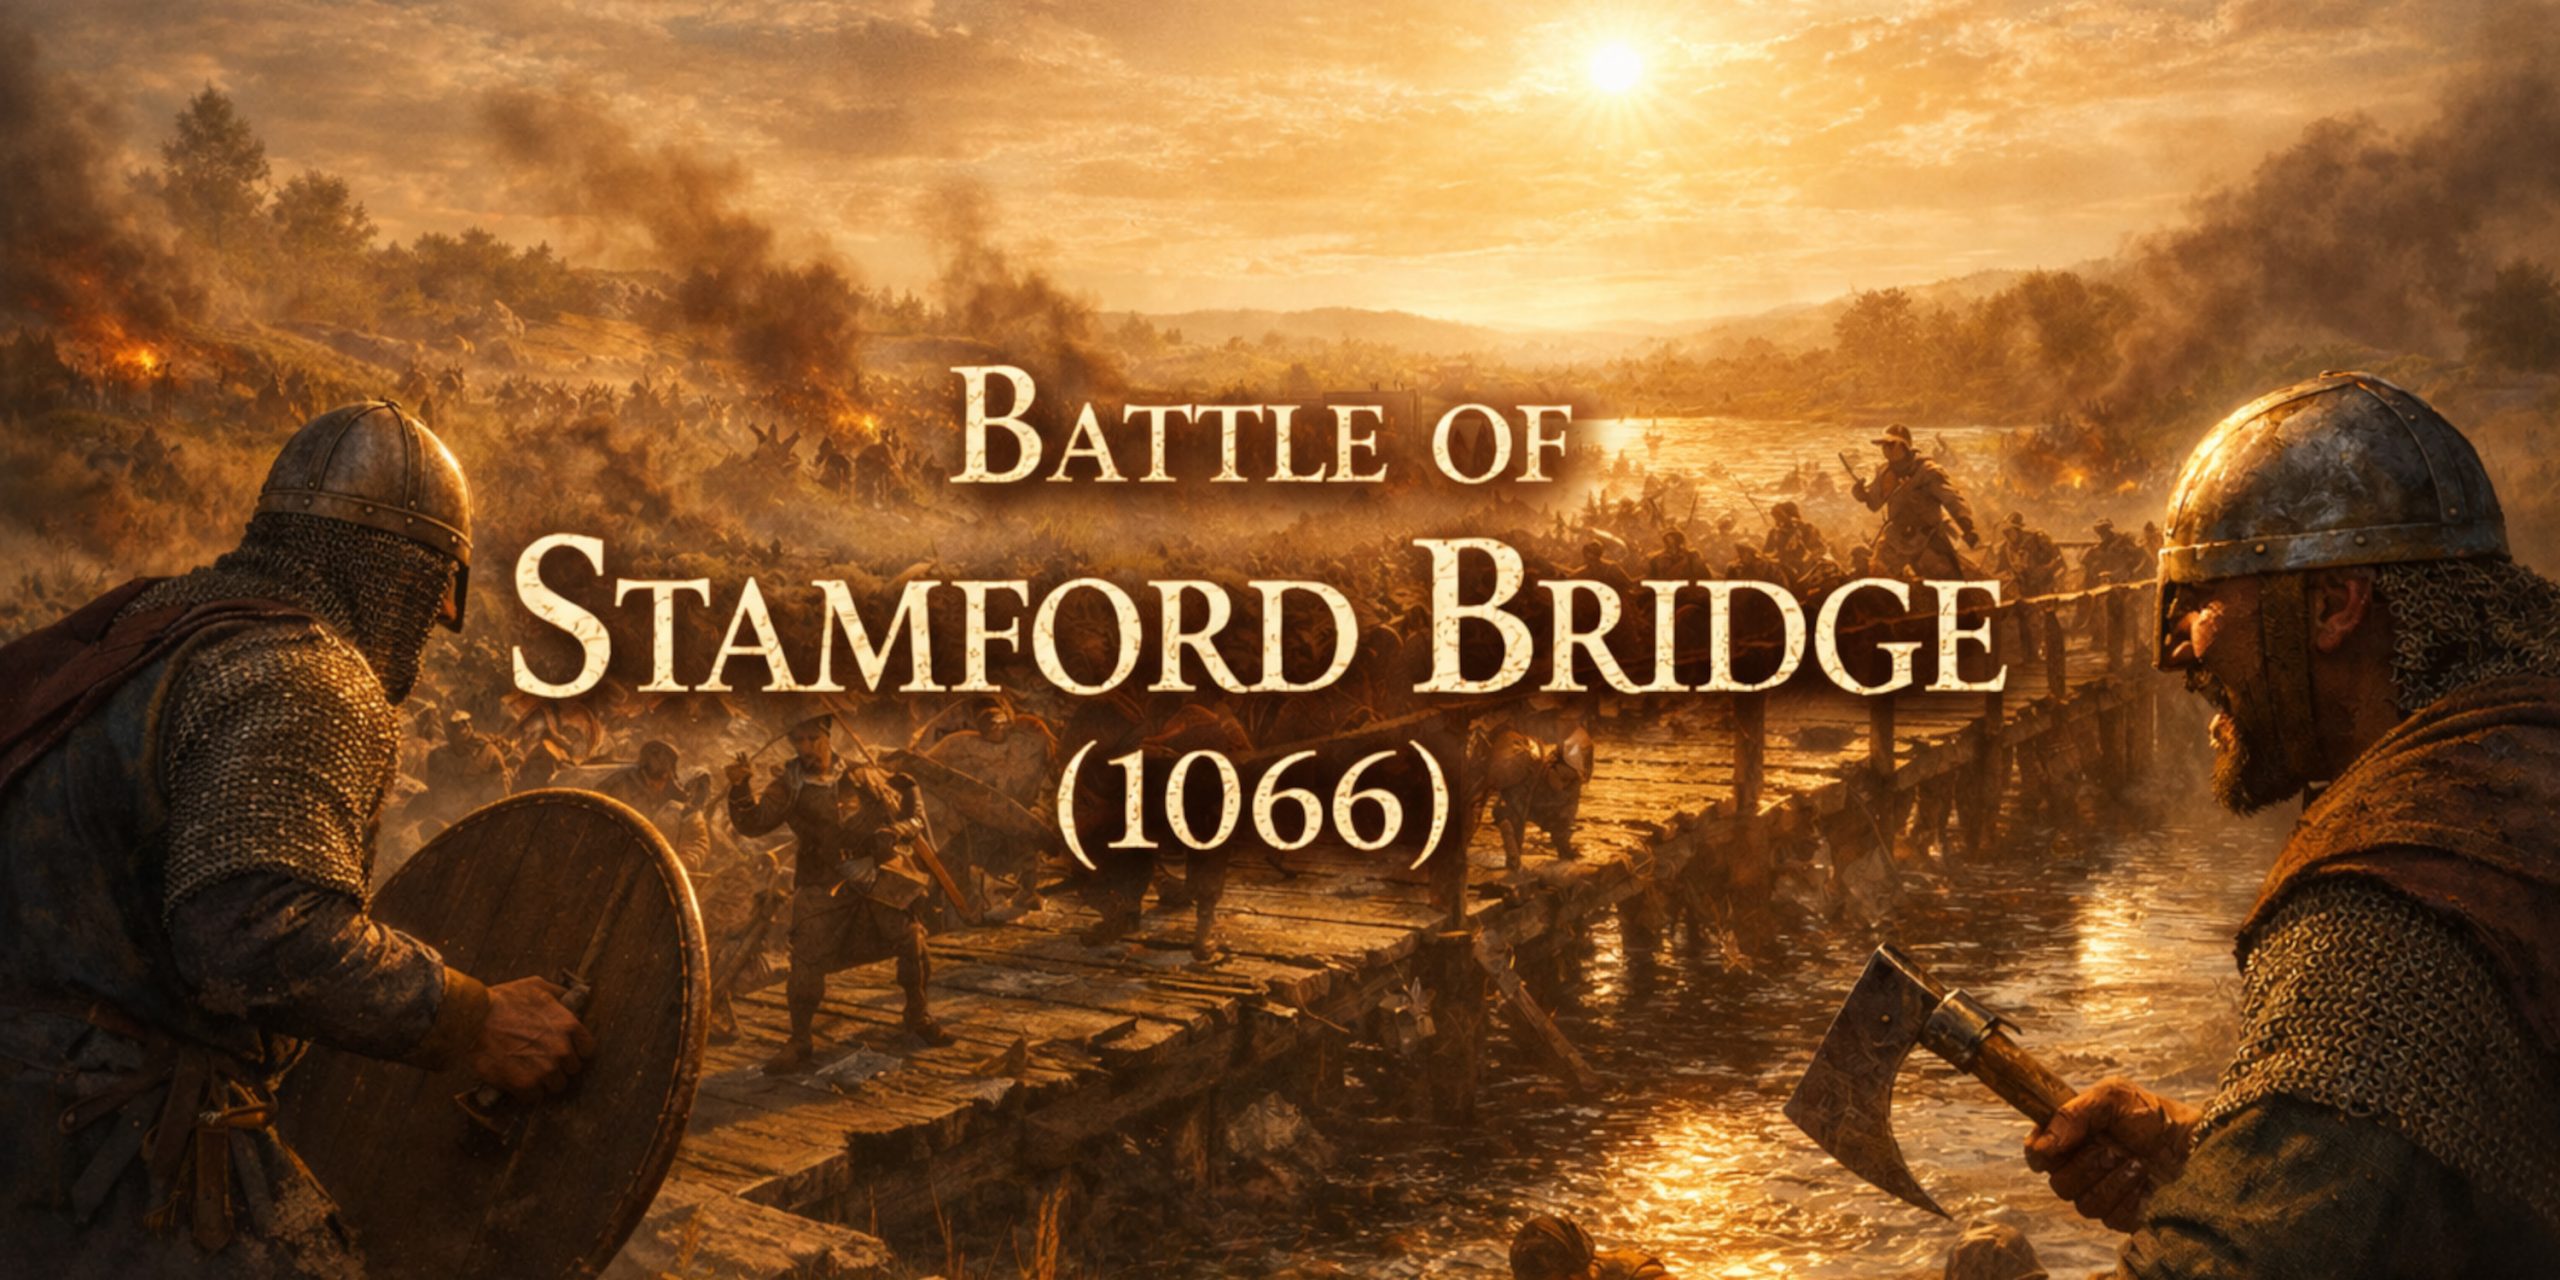
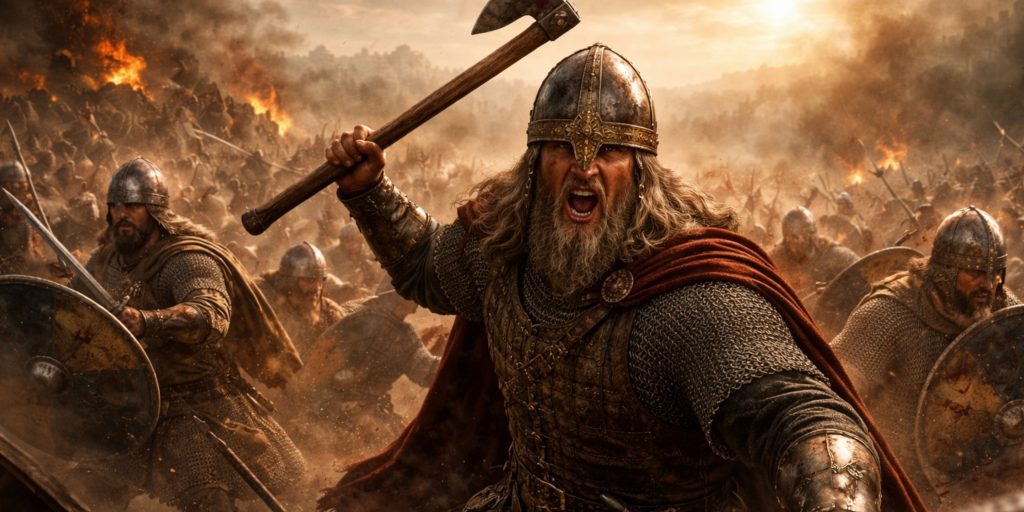
Stamford Bridge has always felt like the victory that should have settled everything. Harold Godwinson moved faster than any king had a right to, caught a veteran Viking army completely unprepared, and destroyed it in a single brutal day.
And yet, it is remembered as the prelude rather than the conclusion.
That lingering irony hangs over the whole event. You read it knowing what comes next, and it makes every decision feel sharper, slightly tragic, and just a bit exhausting.
Background to the Invasion
By September 1066, England was under real pressure from multiple claimants.
- Harald Hardrada, often called one of the last great Viking war leaders, claimed the English throne through earlier agreements
- Tostig Godwinson, recently exiled, joined him out of equal parts ambition and spite
Their combined force landed in northern England and quickly asserted dominance.
At the Battle of Fulford, the northern earls Edwin of Mercia and Morcar of Northumbria were defeated after a hard fight. York submitted soon after.
The Norwegians withdrew to Stamford Bridge, likely expecting to regroup, collect supplies, and negotiate hostages.
Instead, they received Harold.
Harold’s Forced March
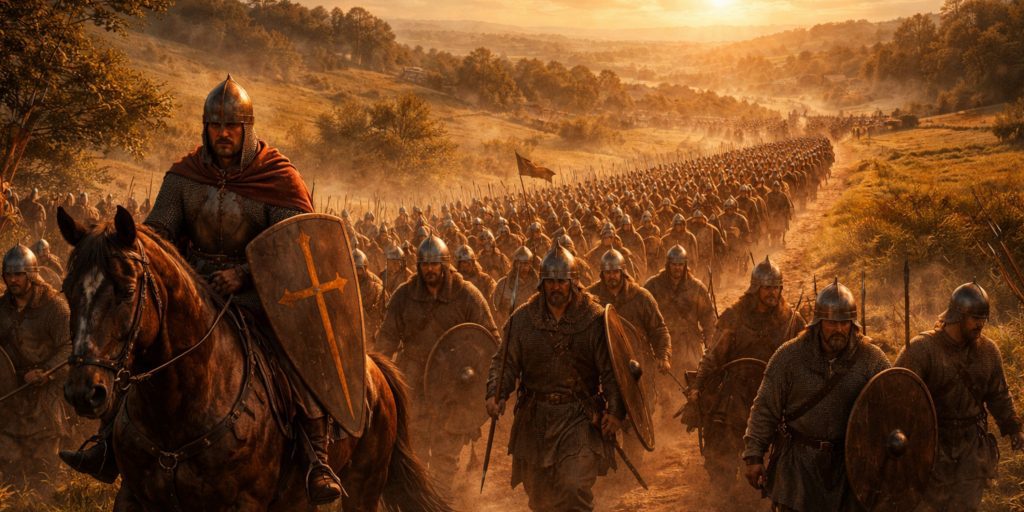
Harold’s response remains one of the most impressive operational movements in medieval warfare.
- Distance: roughly 185 miles from London to Yorkshire
- Time: about 4 to 5 days
- Speed: close to 40 miles per day at peak
This was not a gentle march. It was a controlled sprint by a mixed army of professionals and levies.
Why It Worked
- Harold retained a core of elite housecarls who could maintain discipline
- Roads and Roman routes still provided viable marching lines
- Intelligence from the north was timely enough to act decisively
The Cost
- Fatigue among troops
- Limited time for reinforcement or recovery
- No opportunity to rotate forces
It is difficult not to admire the gamble, even knowing how little margin it left.
Forces
Anglo-Saxon Army
| Element | Details |
|---|---|
| Commander | Harold Godwinson |
| Strength | 7,000 to 10,000 |
| Core troops | Housecarls |
| Additional troops | Fyrd levies |
| Formation style | Shield wall infantry |
Norwegian Army
| Element | Details |
|---|---|
| Commanders | Harald Hardrada, Tostig Godwinson |
| Strength | 7,000 to 9,000 |
| Core troops | Viking warriors |
| Additional troops | Northumbrian allies |
| Formation style | Flexible shield formations |
Key Observations
- The Norwegians had split their force, leaving many men at the ships
- A large portion of their army was lightly equipped at the moment of contact
- The Anglo-Saxons arrived fully formed and ready to fight
Preparation, rather than numbers, decided the opening phase.
Leaders and Command Decisions
Harold Godwinson
- Aggressive, decisive, and willing to risk exhaustion
- Chose immediate engagement rather than delay
- Maintained cohesion despite the forced march
Harald Hardrada
- Highly experienced, with campaigns across Europe and Byzantium
- Likely expected time to consolidate after Fulford
- Forced into reactive command under surprise
Tostig Godwinson
- Politically motivated and personally invested
- Possibly underestimated Harold’s speed
There is a sense that Hardrada was caught between confidence and miscalculation. Not careless, but not cautious enough.
Arms and Armour
This battle sits at the height of heavy infantry warfare in northern Europe.
Anglo-Saxon Equipment
- Swords:
- Double-edged Viking-style swords
- Often pattern-welded or high-quality steel
- Used for cutting and thrusting
- Axes:
- Danish axes with long shafts
- Devastating against shield walls
- Spears:
- Thrown or used in close combat
- Armour:
- Mail hauberks reaching mid-thigh
- Conical helmets with nasal guards
- Shields:
- Round wooden shields with iron bosses
Norwegian Equipment
- Swords:
- Classic Viking swords, broad and balanced
- High-status weapons for experienced warriors
- Axes:
- Bearded axes for hooking and pulling shields
- Spears:
- Widely used due to accessibility
- Armour:
- Mail and helmets, though many lacked them during the battle
- Shields:
- Round shields, often decorated
Tactical Implications
- Both sides fought in shield wall formations
- The Anglo-Saxon advantage came from readiness and cohesion
- Housecarls with axes were particularly effective once lines closed
When equipment is nearly identical, discipline becomes the deciding factor.
The Bridge and the Opening Clash
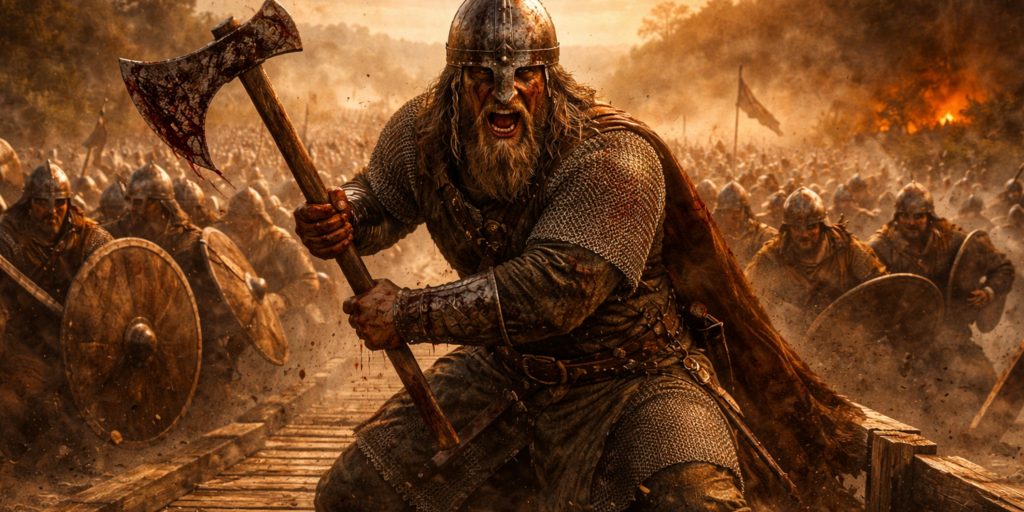
The crossing at Stamford Bridge created a natural choke point.
According to later accounts, a single Viking warrior held the bridge long enough to delay the English advance.
- Narrow crossing limited numbers
- Anglo-Saxons forced to attack in sequence
- Defender reportedly killed several men before falling
Whether exaggerated or not, the episode reflects a real tactical delay.
Eventually, the English crossed, likely by flanking or forcing passage under pressure.
Battle Timeline
Early Morning
- Harold’s army arrives unexpectedly
- Norwegian forces caught dispersed and unarmoured
First Engagement
- Fighting begins near the bridge
- Viking rearguard attempts to hold crossing
Breakthrough
- Anglo-Saxons secure the bridge
- Main engagement begins on open ground
Midday Clash
- Shield walls collide
- Intense close combat with axes and swords
Death of Harald Hardrada
- Hardrada is struck, possibly by an arrow to the throat
- Norwegian morale shaken
Arrival of Reinforcements
- Viking troops rush from ships under Eystein Orre
- They arrive exhausted and are quickly overwhelmed
Final Collapse
- Tostig killed
- Norwegian resistance breaks
- Survivors retreat
Casualties and Immediate Aftermath
The losses were severe, particularly for the Norwegians.
- Only around 20 to 25 ships were needed for survivors to return
- Original fleet estimated at over 200 ships
Harold allowed survivors to leave, a practical decision given what lay ahead.
There was no time to linger, celebrate, or even fully recover.
Archaeology and Battlefield Evidence
Physical evidence from Stamford Bridge is limited, though not absent.
What Has Been Found
- Scattered weapon fragments typical of 11th century warfare
- Soil and landscape analysis aligning with chronicled positions
- Artefact distributions suggesting zones of heavy fighting
Why Evidence Is Sparse
- Bodies and equipment were likely stripped and removed
- Organic materials have not survived well
- Medieval battlefields rarely produce dense finds unless conditions are exceptional
Interpretation relies heavily on written sources and terrain study.
Contemporary Accounts
The sources are not perfect, but they offer valuable insight.
From the Anglo-Saxon Chronicle:
“Harold king of the English came upon them unawares beyond York.”
From Heimskringla, attributed to Snorri Sturluson:
“Then there was a hard fight, and many fell on both sides.”
These are restrained accounts, almost understated. That in itself says quite a lot.
Strategic Consequences
Stamford Bridge achieved exactly what Harold needed in the short term.
- Norwegian invasion ended
- Northern threat eliminated
- Political authority reinforced
Yet the victory created new problems:
- Army exhausted from rapid movement and battle
- Losses among elite housecarls
- No time for regrouping
Within weeks, Harold marched south to face William the Conqueror at the Battle of Hastings.
It is difficult not to see Stamford Bridge as both a triumph and a warning.
Legacy
Stamford Bridge is often described as the end of the Viking Age in England.
That is not entirely poetic licence.
- Large-scale Scandinavian invasions effectively ceased
- Anglo-Saxon military strength reached a final peak
- The political map of England was about to change completely
There is also something quietly human about it.
Harold won a near-perfect battle. Fast, decisive, ruthless when needed. If events had paused there, he would likely be remembered as one of England’s greatest kings without qualification.
Instead, he becomes part of a sequence.
Victory, march, defeat.
History rarely offers clean endings, and Stamford Bridge is a good reminder of that.
Watch the documentary: