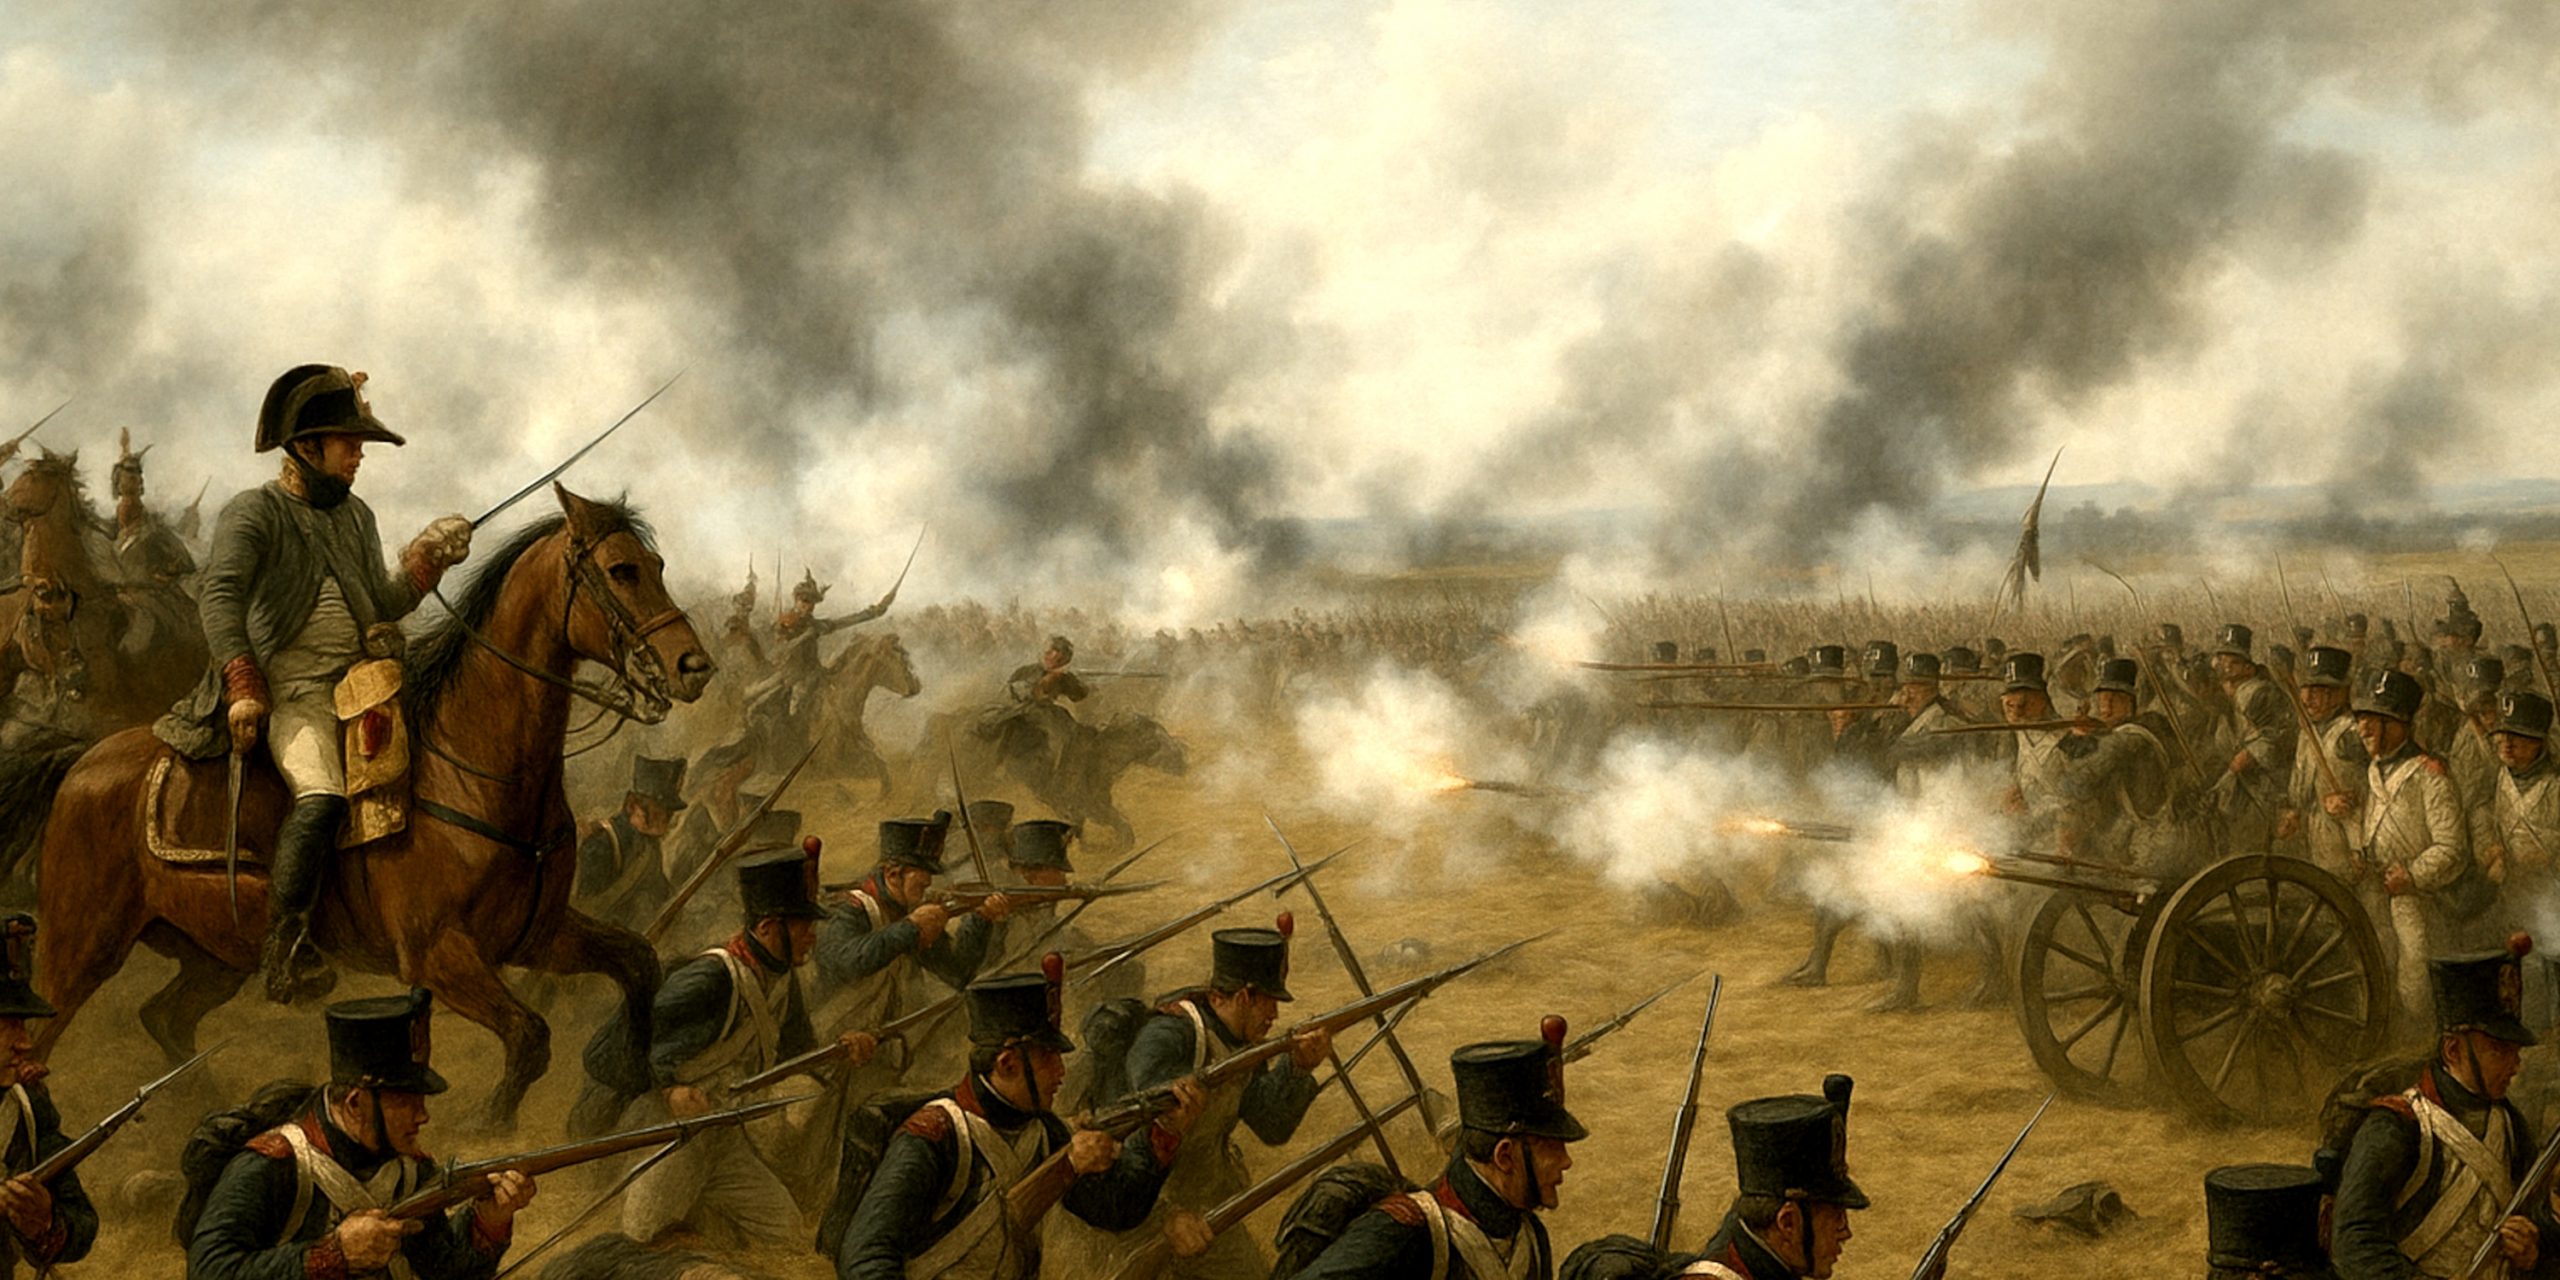
Wagram was a turning point in the War of the Fifth Coalition, fought on the Danube’s plain east of Vienna. It is a sprawling, bruising contest between Napoleon’s rebuilt Grande Armée and the reformed Austrian force under Archduke Charles. The field feels deceptively flat, but the story is anything but.
By the summer of 1809, Napoleon’s aura of inevitability had dimmed. The Austrians had bloodied him at Aspern Essling earlier in the year, a rare French defeat that delighted every chancery in Europe. Napoleon responded by rebuilding his bridges, his army and his confidence. Wagram was his attempt to settle the matter.
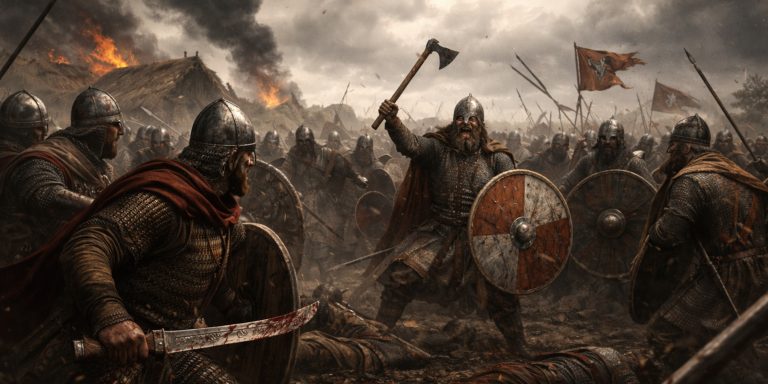
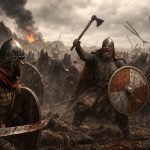
The battle takes place over two hot days on an open stretch of farmland north of the Danube. Both armies are massive, both are weary and both are gambling that one more push will decide the fate of central Europe. The result is a grinding contest of artillery, infantry masses and desperate cavalry charges. No single moment wins it. Instead, the French edge forward with stubborn persistence, while the Austrians try to hold a line that stretches farther than their command system can manage.
Forces
French Army
A multi national host that included French, Italian, Rhineland and Polish formations. Napoleon had overhauled his Danube crossing and brought enormous artillery with him.
Austrian Army
Archduke Charles commanded the best prepared Austrian force of the Napoleonic period. It was cohesive on paper but struggled with coordination across the wide front.
Full Order of Battle
French Forces
| Formation | Commander | Estimated Strength | Notes |
|---|---|---|---|
| Army of Germany | Napoleon Bonaparte | About 170,000 | Included veterans from Austerlitz and new levies from across the Empire |
| Imperial Guard | Marshal Bessières | 10,000 | Elite infantry and cavalry, held in reserve for much of the battle |
| I Corps | Marshal Bernadotte | 21,000 | Saxon contingents, suffered in the early fighting |
| II Corps | Oudinot | 32,000 | Steady performance during the central advance |
| III Corps | Davout | 35,000 | The right wing anchor of the French line |
| IV Corps | Masséna | 28,000 | Hard pressed on the left near Aderklaa |
| Cavalry Reserve | Bessières | 14,000 | Heavy cavalry used for counter charges |
| Artillery | Various | Over 400 guns | One of the heaviest French deployments to date |
Austrian Forces
| Formation | Commander | Estimated Strength | Notes |
|---|---|---|---|
| Hauptarmee | Archduke Charles | About 155,000 | Well trained but stretched over a wide front |
| I Reserve Corps | Liechtenstein | 18,000 | Heavy cavalry reserve |
| II Corps | Hohenzollern | 27,000 | Saw heavy fighting near Baumersdorf |
| III Corps | Hiller | 24,000 | Left wing, involved in the major Austrian attack on day two |
| IV Corps | Rosenberg | 18,000 | Pressed Davout’s right with mixed success |
| VI Corps | Kollowrat | 22,000 | Centre of the line |
| Grenadier Reserve | d’Aspre | 10,000 | Elite infantry, committed late |
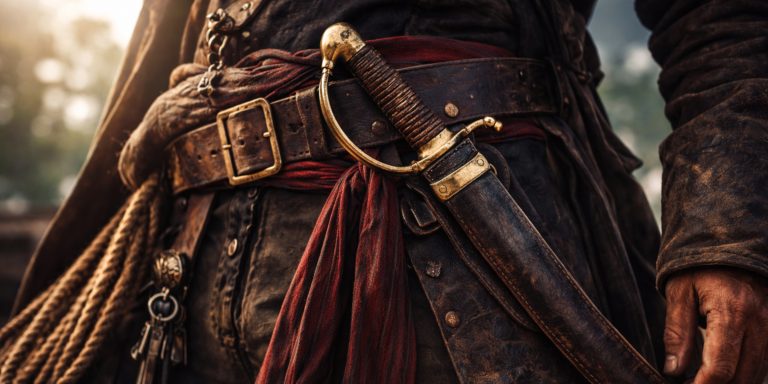
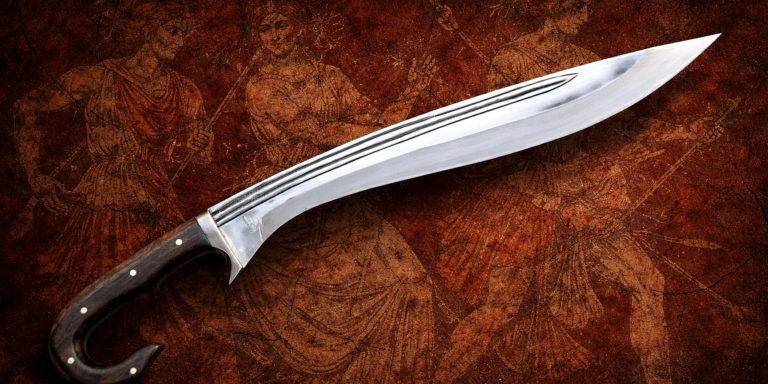
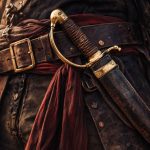
Arms and Armour
A battle of this size is a catalogue of Napoleonic weaponry. The battlefield was dense with artillery fire, clouds of muskets and the thunder of cavalry sabres.
Infantry Weapons:
- French Charleville musket
- Austrian Model 1798 musket
- Bayonets issued universally
- Grenadiers with heavier straight blades and heavier cartridge boxes
Cavalry Weapons:
- French heavy cavalry sabres (AN XI pattern)
- Austrian 1798 heavy cavalry pallasch
- Light cavalry sabres for hussars (curved, optimised for slashing)
- Lances used by Polish uhlans
Artillery:
- French Gribeauval system guns, 6, 8 and 12 pounders
- Austrian guns of similar calibres but with slower drill
Leaders and Troop Composition Table
| Commander | Role | Notable Units | Distinctive Weapons |
|---|---|---|---|
| Napoleon | Overall command | Imperial Guard, massed artillery | Guard cavalry sabres, elite pistol carbines |
| Davout | French right | Veteran infantry divisions, cuirassiers | AN XI heavy sabres, cuirassier straight swords |
| Masséna | French left | Italian infantry, light cavalry | Light cavalry sabres |
| Archduke Charles | Austrian command | Grenadiers, centre corps | Austrian pallasch sabres |
| Liechtenstein | Cavalry reserve | Heavy dragoons, cuirassiers | Straight heavy swords |
A few of these officers carried personalised weapons, although sadly none survive that can be definitively tied to Wagram. If they do turn up one day, expect the auction house to faint from delight.
History of the Battle
Day One, 5 July
French forces push across the Marchfeld and try to break the Austrian positions before they can settle. The Austrians hold their ground. Fighting spreads along the entire line, marked by intense artillery duels. Darkness ends the action.
Day Two, 6 July
The Austrians launch a bold early assault on the French left. Masséna is forced back but stops the attack short of a breakthrough. Davout, meanwhile, grinds forward on the French right and begins to roll up the Austrian flank. Napoleon commits his artillery en masse to batter the Austrian centre. Charles sees the danger but cannot react quickly enough across his overstretched army. By late afternoon, the Austrian line buckles and begins to pull back in good order. The French, exhausted, do not mount a major pursuit.
The victory is real, yet it lacks the old decisive spark. Napoleon wins by weight and persistence rather than brilliance, something he was never shy about forgetting in later years.
Battle Timeline
- Late June: French complete their bridges over the Danube.
- 4 July: Advance guards clash on the Marchfeld.
- 5 July, morning: French push forward under heavy Austrian fire.
- 5 July, afternoon: Saxons in Bernadotte’s corps lose ground near Aderklaa.
- 6 July, dawn: Major Austrian attack on the French left.
- 6 July, midday: French artillery massed in the centre.
- 6 July, afternoon: Davout gains control of the Austrian right.
- 6 July, evening: Austrians retreat, battle ends.
Contemporary Quotes
The sources are rich and often weary.
French officer, after the artillery concentration:
“The air shook as if the world itself had cracked. We could not hear our own voices.”
Austrian grenadier:
“We stood in the open. The guns tore lanes through us. Still we held, though all reason said we should not.”
A Saxon infantryman:
“The field was flat as a table, and just as comforting.”
Archaeology
Wagram’s landscape has changed, yet not beyond recognition. Metal detector surveys in tightly controlled academic digs have recovered:
- Musket balls from both French and Austrian calibres
- Fragments of French shrapnel shells
- Uniform buttons from Saxon and Austrian units
- Horse tack fittings from cavalry charges
- Occasional sabre fragments, usually shattered where heavy cavalry clashed
The field is vast, and modern Austrian agriculture has removed many subtle features, but scatter patterns of projectiles still help historians map the lines of advance.
A full scale archaeological project has long been proposed. If it ever happens, expect a far clearer understanding of where the worst of the artillery exchanges took place. Historians would welcome this. Local farmers perhaps slightly less so.
Legacy
Wagram ends the War of the Fifth Coalition. Austria is forced to sue for peace, giving Napoleon temporary control of central Europe once more. Yet this is not Austerlitz. The victory is costly and exposes growing problems in the French system. Casualties on both sides are severe.
For Austria, the battle proves that Charles’s reforms have teeth. They cannot yet defeat Napoleon in the open, but they can blunt him. For Europe’s watching powers, Wagram is proof that the French Empire is formidable but mortal.
In the long view, Wagram marks the last time Napoleon wins a major continental battle through sheer operational stamina. Two years later, on the road out of Moscow, he would have given anything to be back on the flat fields of the Danube.
Watch the documentary: