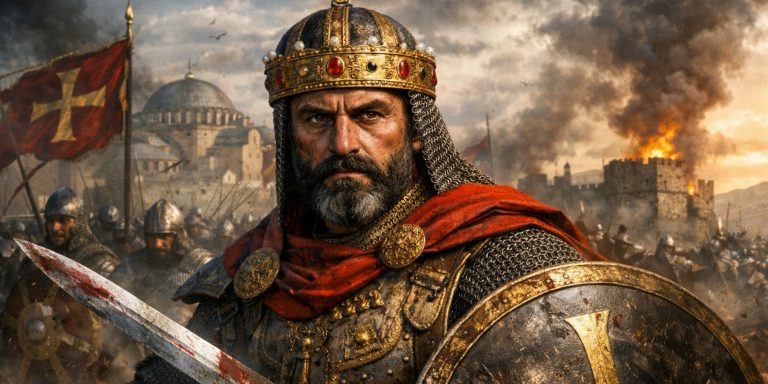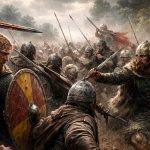
The Battle of Dyrham in 577 sits at one of those early medieval history moments that is both decisive and poorly documented. We know it mattered. We know roughly where it happened. We know who won. Beyond that, the evidence thins out quickly, like a shield wall that has taken one charge too many. As a historian, this is where instinct, archaeology, and a cautious reading of later sources do the heavy lifting.
What follows is a grounded reconstruction, with the uncertainties left visible rather than plastered over.
Historical Context
By the late sixth century, western Britain was fractured. Romano-British kingdoms clung to old cities and road networks, while expanding Anglo-Saxon polities pressed westward from the Thames Valley. Control of the Severn corridor meant access to trade, fertile land, and the ability to cut Britain in two.
Dyrham was not a border skirmish. It was a breaking point.
Forces
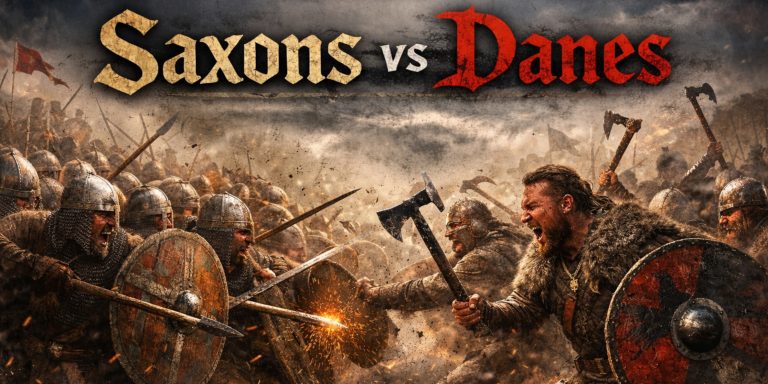
The clash pitted a West Saxon host against a coalition of Brittonic rulers defending the approaches to the Severn Valley.
West Saxons
Led by Ceawlin of Wessex and his kin Cuthwine, the Saxons were aggressive, mobile, and increasingly confident. They fought as a campaigning force rather than a local levy, which matters.
Brittonic Defenders
The Britons fielded multiple kings, likely drawing troops from neighbouring territories centred on former Roman towns. This gave numbers, but not necessarily unity.
Leaders
| Side | Leader | Role |
|---|---|---|
| West Saxons | Ceawlin | King of Wessex, overall command |
| West Saxons | Cuthwine | Royal kinsman, battlefield commander |
| Britons | Conmail | King, killed in battle |
| Britons | Condidan | King, killed in battle |
| Britons | Farinmail | King, killed in battle |
The death of three kings in one engagement suggests either catastrophic collapse or a desperate last stand. Possibly both.
Troop Composition
West Saxon Host
• Professional warband core supported by levies
• Shield wall infantry as the backbone
• Limited cavalry, used for pursuit rather than shock
• High cohesion and central command
Brittonic Forces
• Mixed warbands drawn from multiple kingdoms
• Greater reliance on locally raised infantry
• Variable equipment quality
• Leadership spread across several kings
Coalitions win wars slowly. Single kings with momentum tend to win battles.
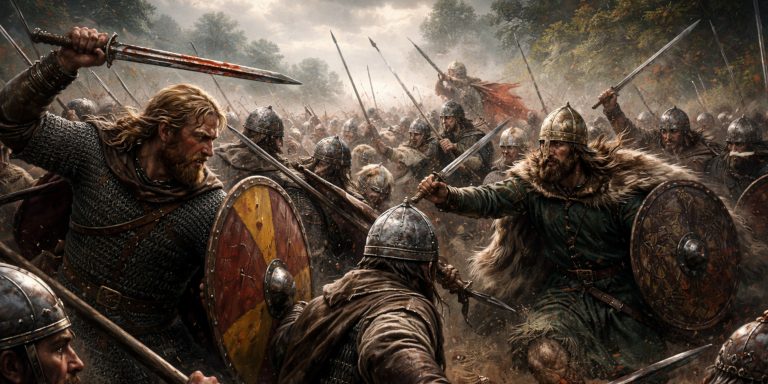
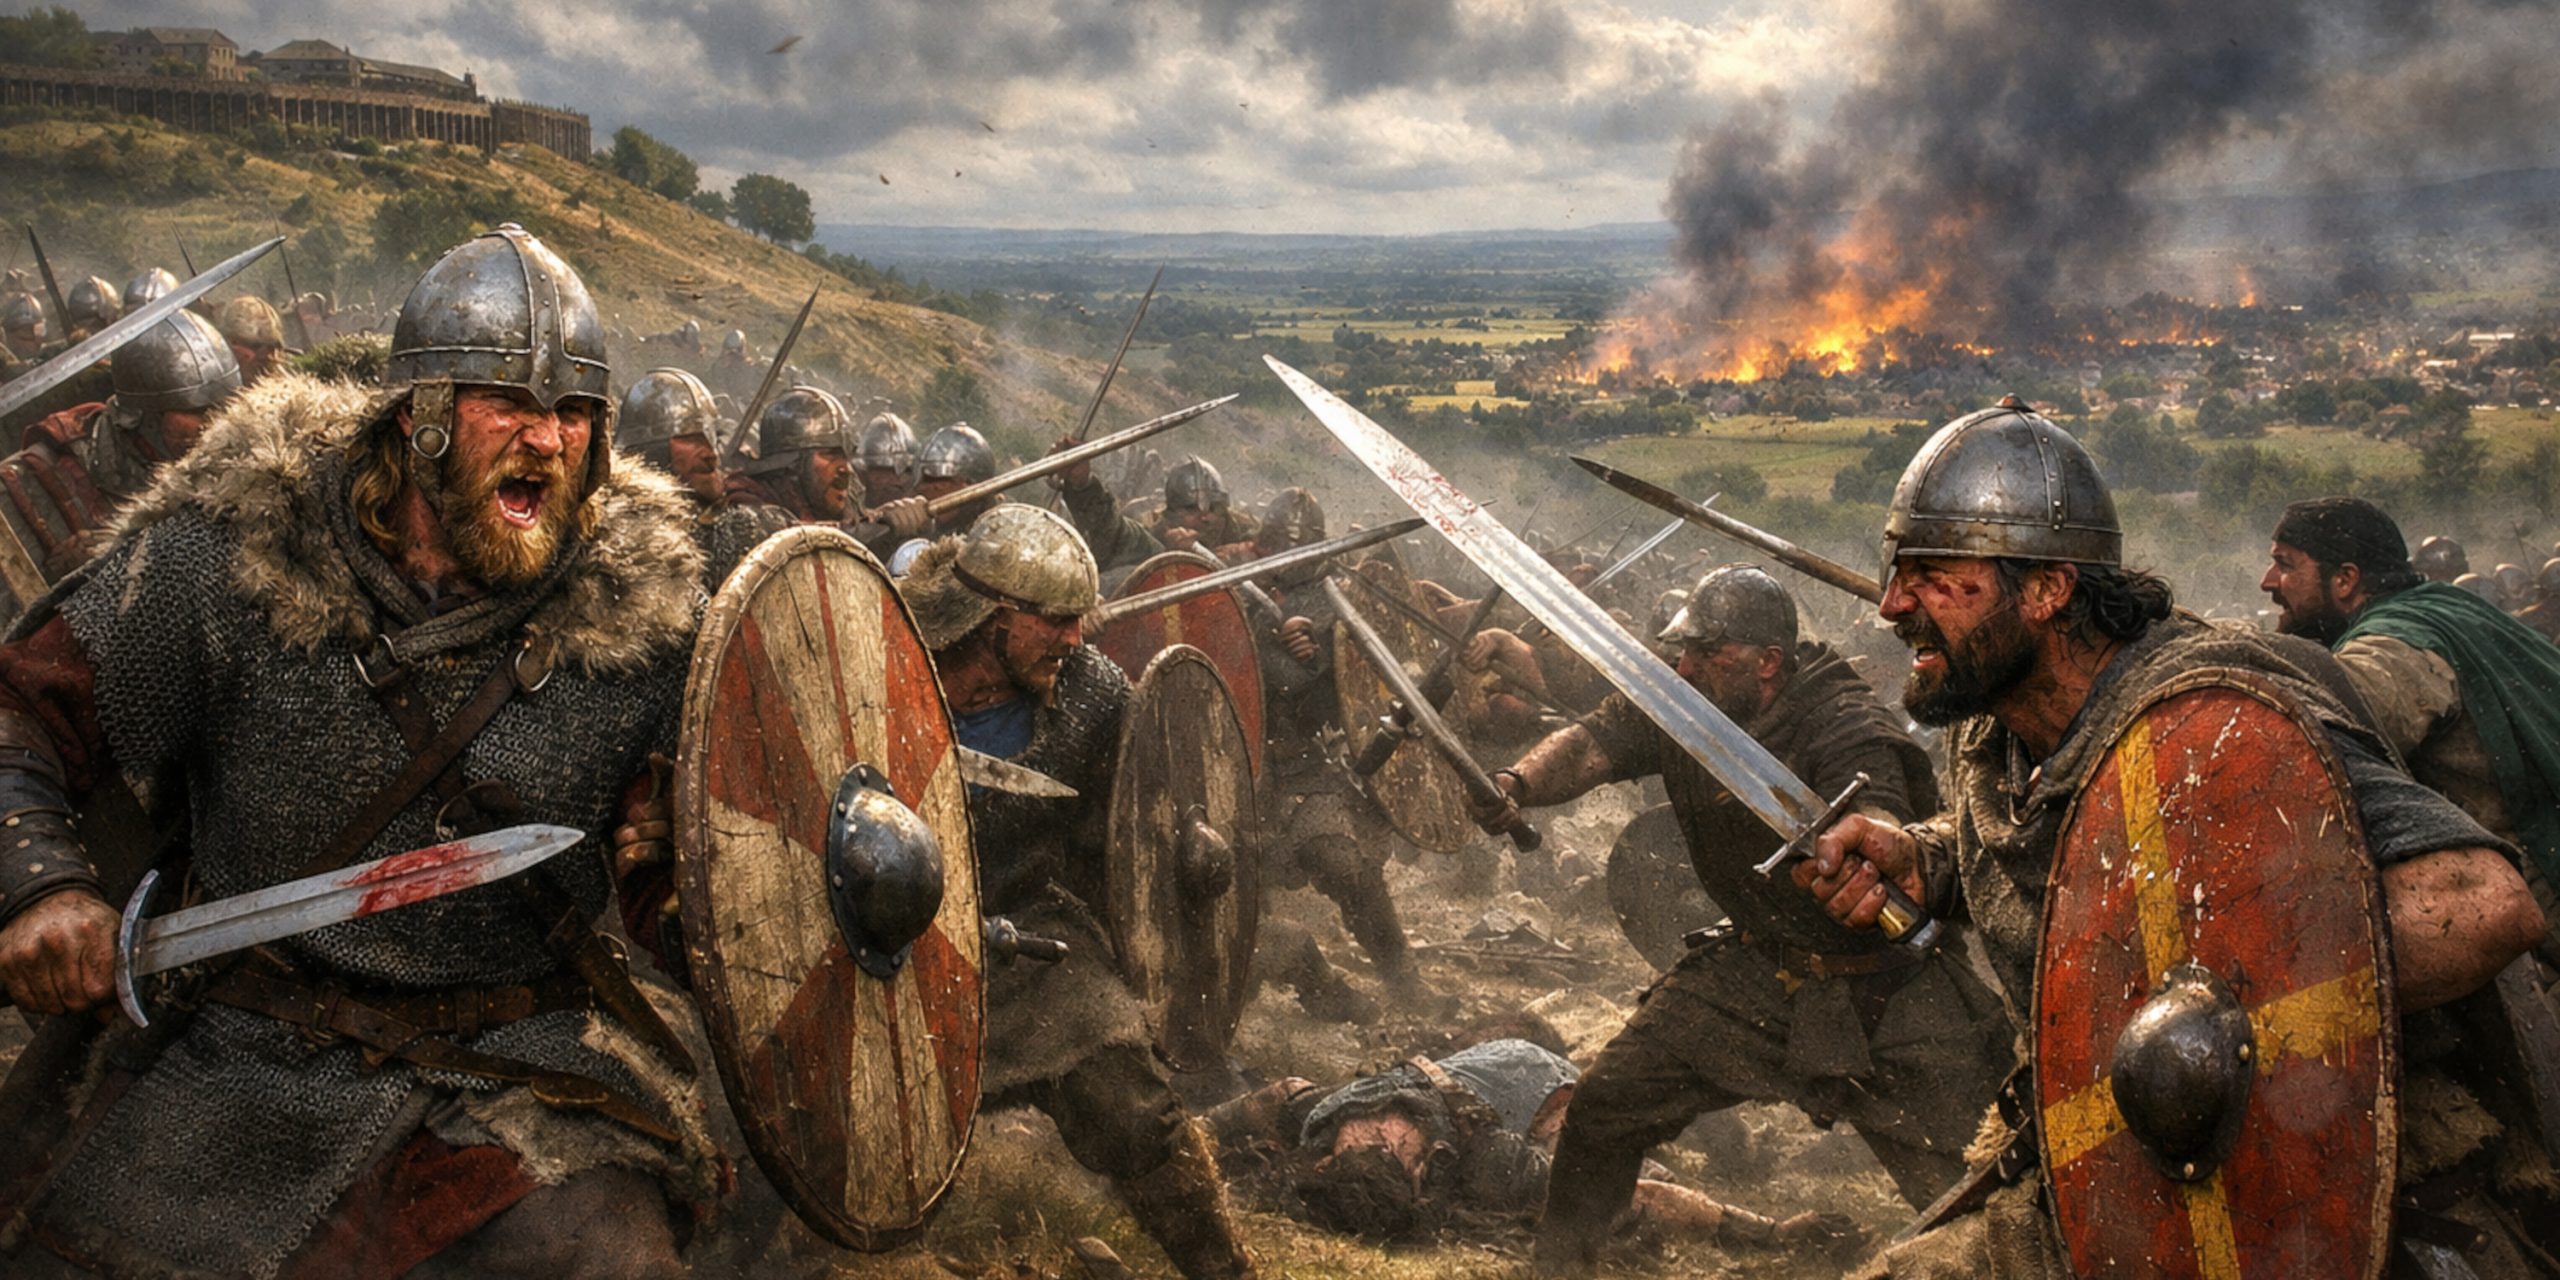
Arms and Armour
Archaeology and comparative evidence allow us to sketch the kit, if not the colours.
West Saxon Equipment
• Pattern welded seax for close work
• Anglo-Saxon spatha style swords with broad blades and simple guards
• Round wooden shields with iron bosses
• Spear as the primary weapon
• Helmets rare, mail almost unknown outside elites
Brittonic Equipment
• Late Roman derived spatha swords, often longer than Saxon types
• Spear and javelin combinations
• Oval or round shields
• Occasional use of mail, likely inherited or reused Roman stock
This was not a battle of gleaming armour. It was wood, iron, leather, and a great deal of noise.
The Battle Timeline
| Phase | Event |
|---|---|
| Morning | West Saxon army advances along ridge routes |
| Midday | Engagement near elevated ground at Dyrham |
| Afternoon | Brittonic line breaks following death of leaders |
| Late day | Saxon pursuit into lowland routes |
| Aftermath | Capture of key cities in the Severn basin |
The speed of collapse matters. Once leadership fell, resistance evaporated.
Archaeology
No mass grave has yet declared itself as Dyrham with a neat signpost, which is frustrating but typical. What we do have includes:
• Early Anglo-Saxon material culture advancing west after 577
• Disruption layers in Bath, Gloucester, and Cirencester
• Hilltop and routeway analysis consistent with a large scale movement rather than a raid
Sometimes absence is still evidence. It just refuses to be tidy.
Contemporary Sources and Quotes
Our primary written source is the Anglo-Saxon Chronicle, compiled centuries later but drawing on earlier tradition.
“In this year Cuthwine and Ceawlin fought against the Britons, and slew three kings.”
That is all. No speeches. No heroics. Just a blunt statement of outcome. Early medieval chroniclers were economical to the point of cruelty.
Gildas, writing earlier but speaking broadly of Saxon advances, offers the mood if not the detail:
“The fire of vengeance, kindled by the sins of the land, spread from sea to sea.”
He was not impressed. Few ever are when on the losing side.
Why Dyrham settled Anglo-Saxon dominance
After Dyrham, the Brittonic west was cut off from the south west. The old Roman cities fell one by one. The Severn Valley opened to Saxon settlement. Wales and Cornwall became isolated cultural islands rather than connected territories.
If you want a single moment when post Roman Britain stopped pretending it could be stitched back together, this is a strong candidate.
The Seven Swords Takeaway
Dyrham is uncomfortable history. Sparse sources, heavy consequences, and no neat battlefield archaeology to argue over. It reminds us that most turning points were not announced with trumpets. They happened on muddy slopes, were written down later by people with agendas, and only revealed their importance in hindsight.
Also, three kings dying in one afternoon is a reminder that coalition leadership comes with occupational hazards.
Watch the documentary: