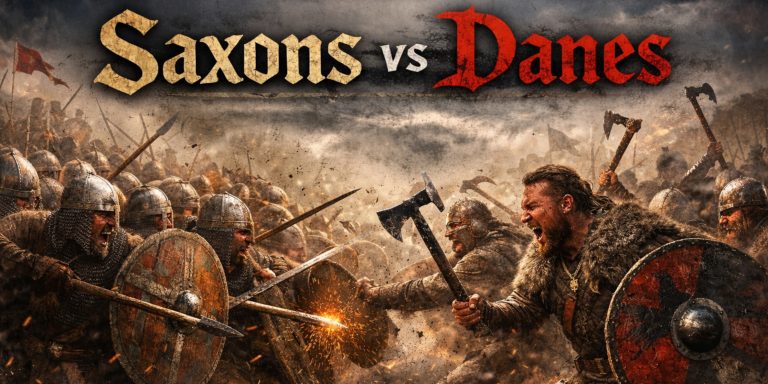
The Battle of Aylesford is one of those early clashes where written sources are sparse, archaeology is cautious, and later chroniclers had a habit of tidying events into neat stories. Even so, the encounter near the River Medway marks a turning point in the struggle between Romano-British authority and incoming Germanic warbands. It is also remembered for the death of Horsa, a name that sounds mythical until you realise early medieval Britain had no problem with that sort of thing.
Historical Background
By the mid fifth century, Roman rule in Britain had collapsed. Local leaders attempted to hold territory with shrinking resources and unreliable loyalties. According to later tradition, Vortigern invited Saxon mercenaries to help defend the eastern approaches. These warriors were led by the brothers Hengist and Horsa.
What began as a defensive arrangement hardened into open warfare. Aylesford, near a key crossing of the Medway, became the stage for one of the first recorded major battles between Britons and Saxons in southern England.
Location and Terrain
Aylesford lies close to the River Medway, a natural boundary and transport route. Control of the crossing mattered. Whoever held it could move men, cattle, and supplies with relative ease. The surrounding land offered open ground for shield wall fighting, with woodland close enough to funnel movement and complicate retreat. It was not dramatic terrain, but that often decides battles more reliably than heroics.
Forces Involved
Leaders
| Side | Leaders |
|---|---|
| Romano-British | Vortigern |
| Saxon | Hengist, Horsa |
Troop Composition
Romano-British forces
- Retinues of local warlords
- Remnants of late Roman infantry traditions
- Levy spearmen drawn from surrounding settlements
Saxon forces
- Warbands organised around kinship and loyalty
- Shield wall infantry
- Small numbers of lightly armoured skirmishers
Numbers are unknown. Later sources speak confidently and accurately about almost nothing, so restraint is wise here.
Arms and Armour
Romano-British Equipment
- Swords: Late Roman spatha, early insular long knives
- Spears with leaf shaped iron heads
- Oval or round shields with central bosses
- Helmets of late Roman pattern, likely rare
- Leather or padded protection, mail uncommon by this point
Saxon Equipment
- Swords: Pattern welded early Anglo-Saxon swords, broad bladed and single edged seaxes
- Thrusting and throwing spears
- Round wooden shields with iron bosses
- Minimal armour, speed and aggression mattered more than protection
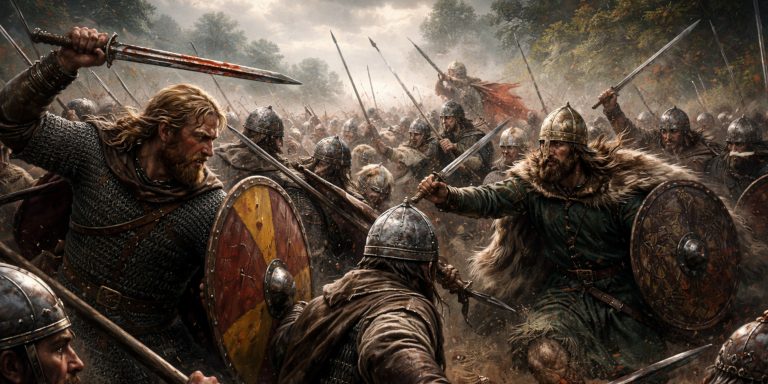
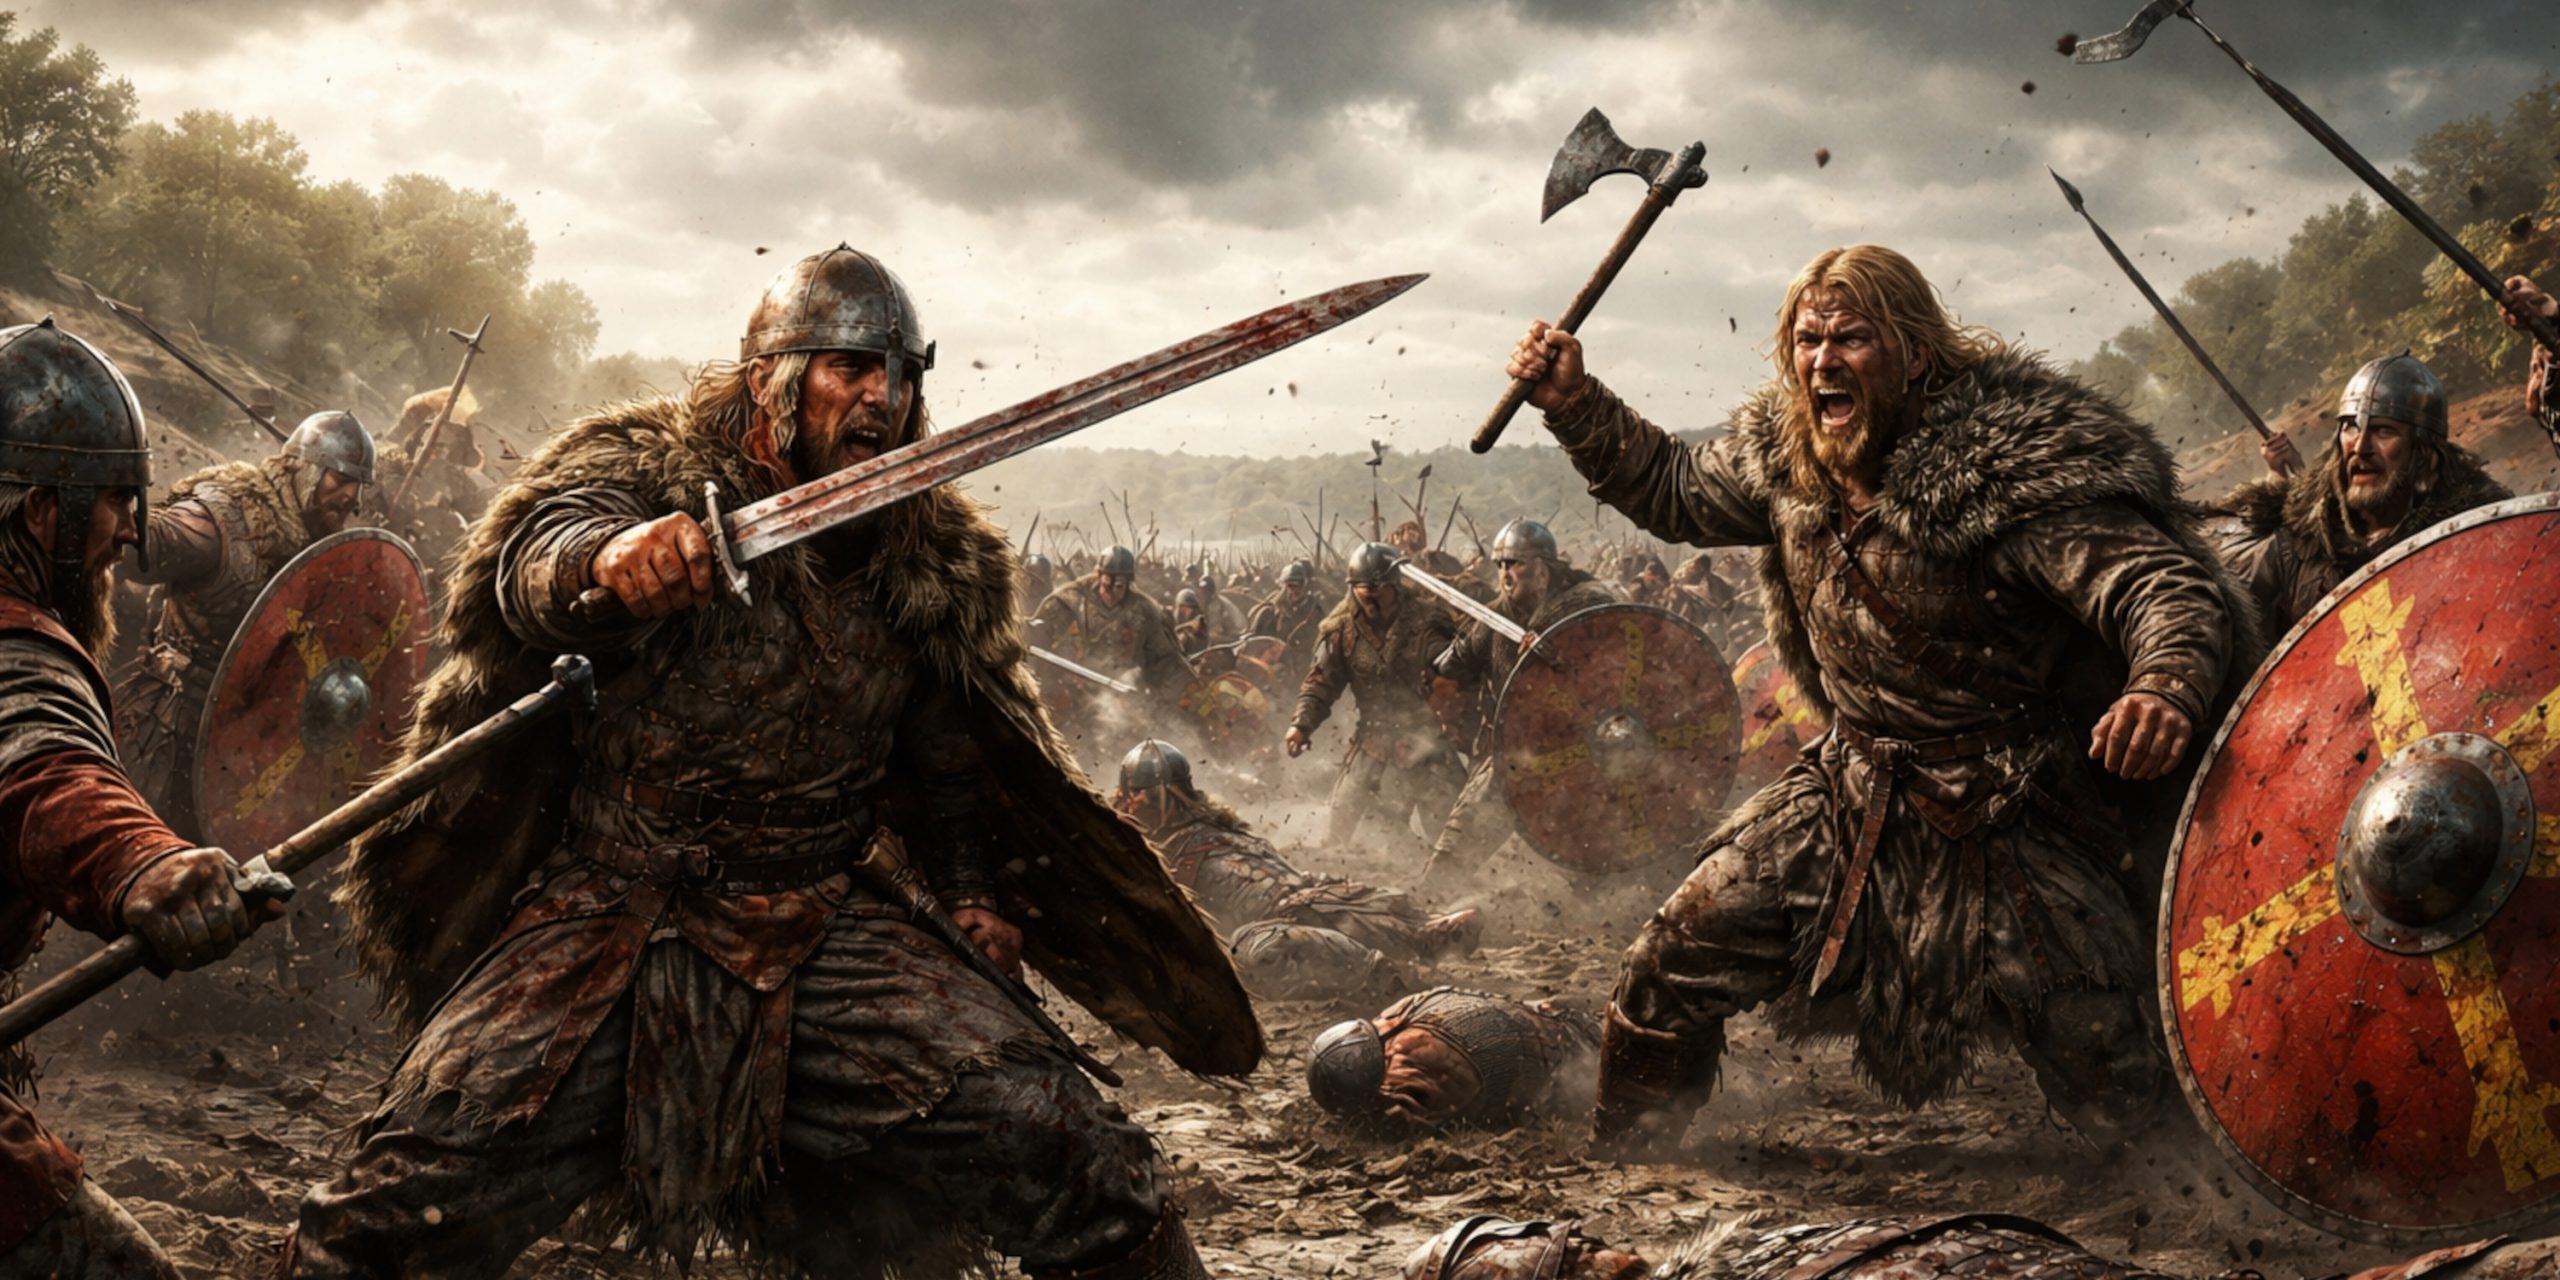
Both sides fought on foot. This was not a clash of knights but of hard men with shields, relying on nerve and cohesion. Anyone expecting polished Roman drill on one side and wild chaos on the other will be disappointed. By this period, everyone was improvising.
The Battle Itself
Battle Timeline
- Saxon forces advance toward the Medway crossing near Aylesford
- Romano-British troops attempt to block the route
- Shield wall engagement begins on open ground
- Close combat intensifies, casualties mount on both sides
- Horsa is killed during the fighting
- Britons withdraw from the field, conceding control of the area
The death of Horsa looms large in tradition, though whether it happened exactly here is impossible to prove. Even so, the outcome favoured the Saxons. Kent did not fall overnight, but after Aylesford the direction of travel was clear.
Contemporary and Near Contemporary Voices
The earliest voices are distant and judgemental, which is very on brand for the period.
Gildas, writing later in the sixth century, described the Saxons as invited guests who turned on their hosts, noting that Britain suffered “fire and sword” as a result.
Bede, in the eighth century, names Hengist and Horsa and places their actions within a providential framework, presenting the conflict as part of a wider reshaping of the island.
The Anglo-Saxon Chronicle, compiled much later, records bluntly that Horsa fell at Aylesford and was buried nearby, a neat sentence for a very messy event.
None of these writers were present. All of them had agendas. As a historian, you learn to read between the lines and then read again with even more suspicion.
Archaeology and Evidence
No confirmed battlefield archaeology has been identified at Aylesford. This is not unusual. Fifth century battlefields are notoriously elusive. What we do have are regional finds that fit the period.
- Early Anglo-Saxon cemeteries in Kent with weapons, including swords and spears
- Shield bosses and seaxes datable to the mid fifth century
- Settlement evidence showing growing Saxon presence after the battle’s traditional date
The archaeology supports a gradual takeover rather than a single decisive conquest, which makes the battle important without turning it into legend.
Aftermath and Significance
Aylesford did not end Romano-British resistance, but it weakened it badly in Kent. Saxon control expanded, and Hengist emerged as a dominant figure. Vortigern’s authority never fully recovered. If there is a lesson here, it is that hiring heavily armed migrants during a power vacuum rarely ends well.
The Takeaway
The Battle of Aylesford matters because it sits at the beginning of something recognisably English, though that word would have meant nothing to the men involved. It was likely confused, brutal, and terrifying. No speeches, no banners catching the wind at just the right moment. Just shields locking, men slipping in the mud, and the slow realisation that the old order was fading. History often changes like that, without asking for permission.