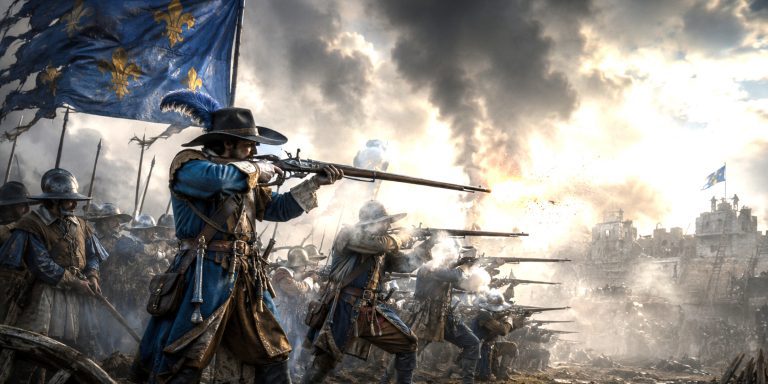
Salamanca is one of those battles that makes you glad Wellington kept meticulous notes. A hot Castilian afternoon, French overconfidence, and a British commander who could spot an exposed flank as quickly as I notice a half-forgotten biscuit in my coat pocket. This fight did not merely tilt the Peninsular War, it shoved the door open for the liberation of Madrid.
The ridge lines around the Arapiles saw some of the quickest and most brutal manoeuvring of the entire campaign. Cavalry thundered through smoke. Infantry surged in lines and squares. The French, for once, were the ones caught saying something close to a collective oh no.
Forces
British, Portuguese and Spanish
- Commander: Arthur Wellesley, Viscount Wellington
- Strength: Around 48,000
- Core: British line infantry, elite Light Division, Portuguese brigades, light dragoons, heavy cavalry
French
- Commander: Marshal Auguste Marmont
- Strength: Around 50,000
- Core: Veteran French line regiments, light infantry, dragoons, cuirassiers, formidable artillery
Army Composition Tables
British, Portuguese and Spanish Forces
| Arm | Units | Approx Strength | Notes |
|---|---|---|---|
| Infantry | British line, Light Division, Portuguese brigades | 33,000 | Light Division included 43rd, 52nd and the 95th Rifles |
| Cavalry | Light dragoons, King’s German Legion hussars | 4,500 | KGL were among the most aggressive cavalry on the field |
| Artillery | Foot and horse artillery batteries | 54 guns | Well sited on reverse slopes |
| Spanish Allies | Local contingents | c. 1,000 | Minor role but politically essential |
French Forces
| Arm | Units | Approx Strength | Notes |
|---|---|---|---|
| Infantry | Line regiments, voltigeurs | 42,000 | Experienced but poorly positioned |
| Cavalry | Dragoons, cuirassiers | 4,000 | Strong on paper, hindered by terrain |
| Artillery | Foot batteries | 78 guns | Heavy guns but slow to reposition |
Arms and Armour
British and Allied Weapons
- Baker Rifle used by the 95th Rifles, accurate to about 200 yards with a good wind and a patient rifleman.
- Brown Bess Musket, the workhorse of Wellington’s infantry.
- 1796 Light Cavalry Sabre, famous for its curved blade and habit of separating limbs with alarming ease.
- 1796 Heavy Cavalry Sword, straight, broad and unsubtle.
- Officer swords often of spadroon pattern with gilt hilts.
Armour was minimal. British cavalry relied on speed rather than protection. Rifles and light infantry wore green jackets rather than red, partly for camouflage and partly to look far more stylish.
French Weapons
- Charleville Musket issued widely among the line infantry.
- French Light Infantry Sabres for voltigeurs.
- Cuirassier Straight Sword backed by the iconic breastplate, which occasionally stopped musket balls but offered little comfort in the Castilian heat.
- Dragoon sabres for the mid-weight cavalry arm.
French cuirasses provided the most protection on the field, although they did not stop British artillery from sending several owners into the academic realm of what-used-to-be-a-man.
Leaders
British
- Wellington, concise, cautious and lethal when opportunity opened.
- Sir Edward Pakenham, led the critical assault on the French left.
- General Henry Clinton, commanded the decisive Sixth Division.
French
- Marshal Marmont, competent but overly ambitious in his manoeuvring. Wounded early by shellfire.
- General Bertrand Clausel, took over command but found himself trying to rearrange a collapsing army at full sprint.
Contemporary Quotes
Wellington after the battle:
“I never saw an army receive such a beating.”
Captain Kincaid of the Rifles:
“The field was a scene of confusion, smoke and shouting, where one needed sharp eyes to know friend from foe.”
A French officer, writing later with expected bitterness:
“The English struck like a hammer upon an unguarded door.”
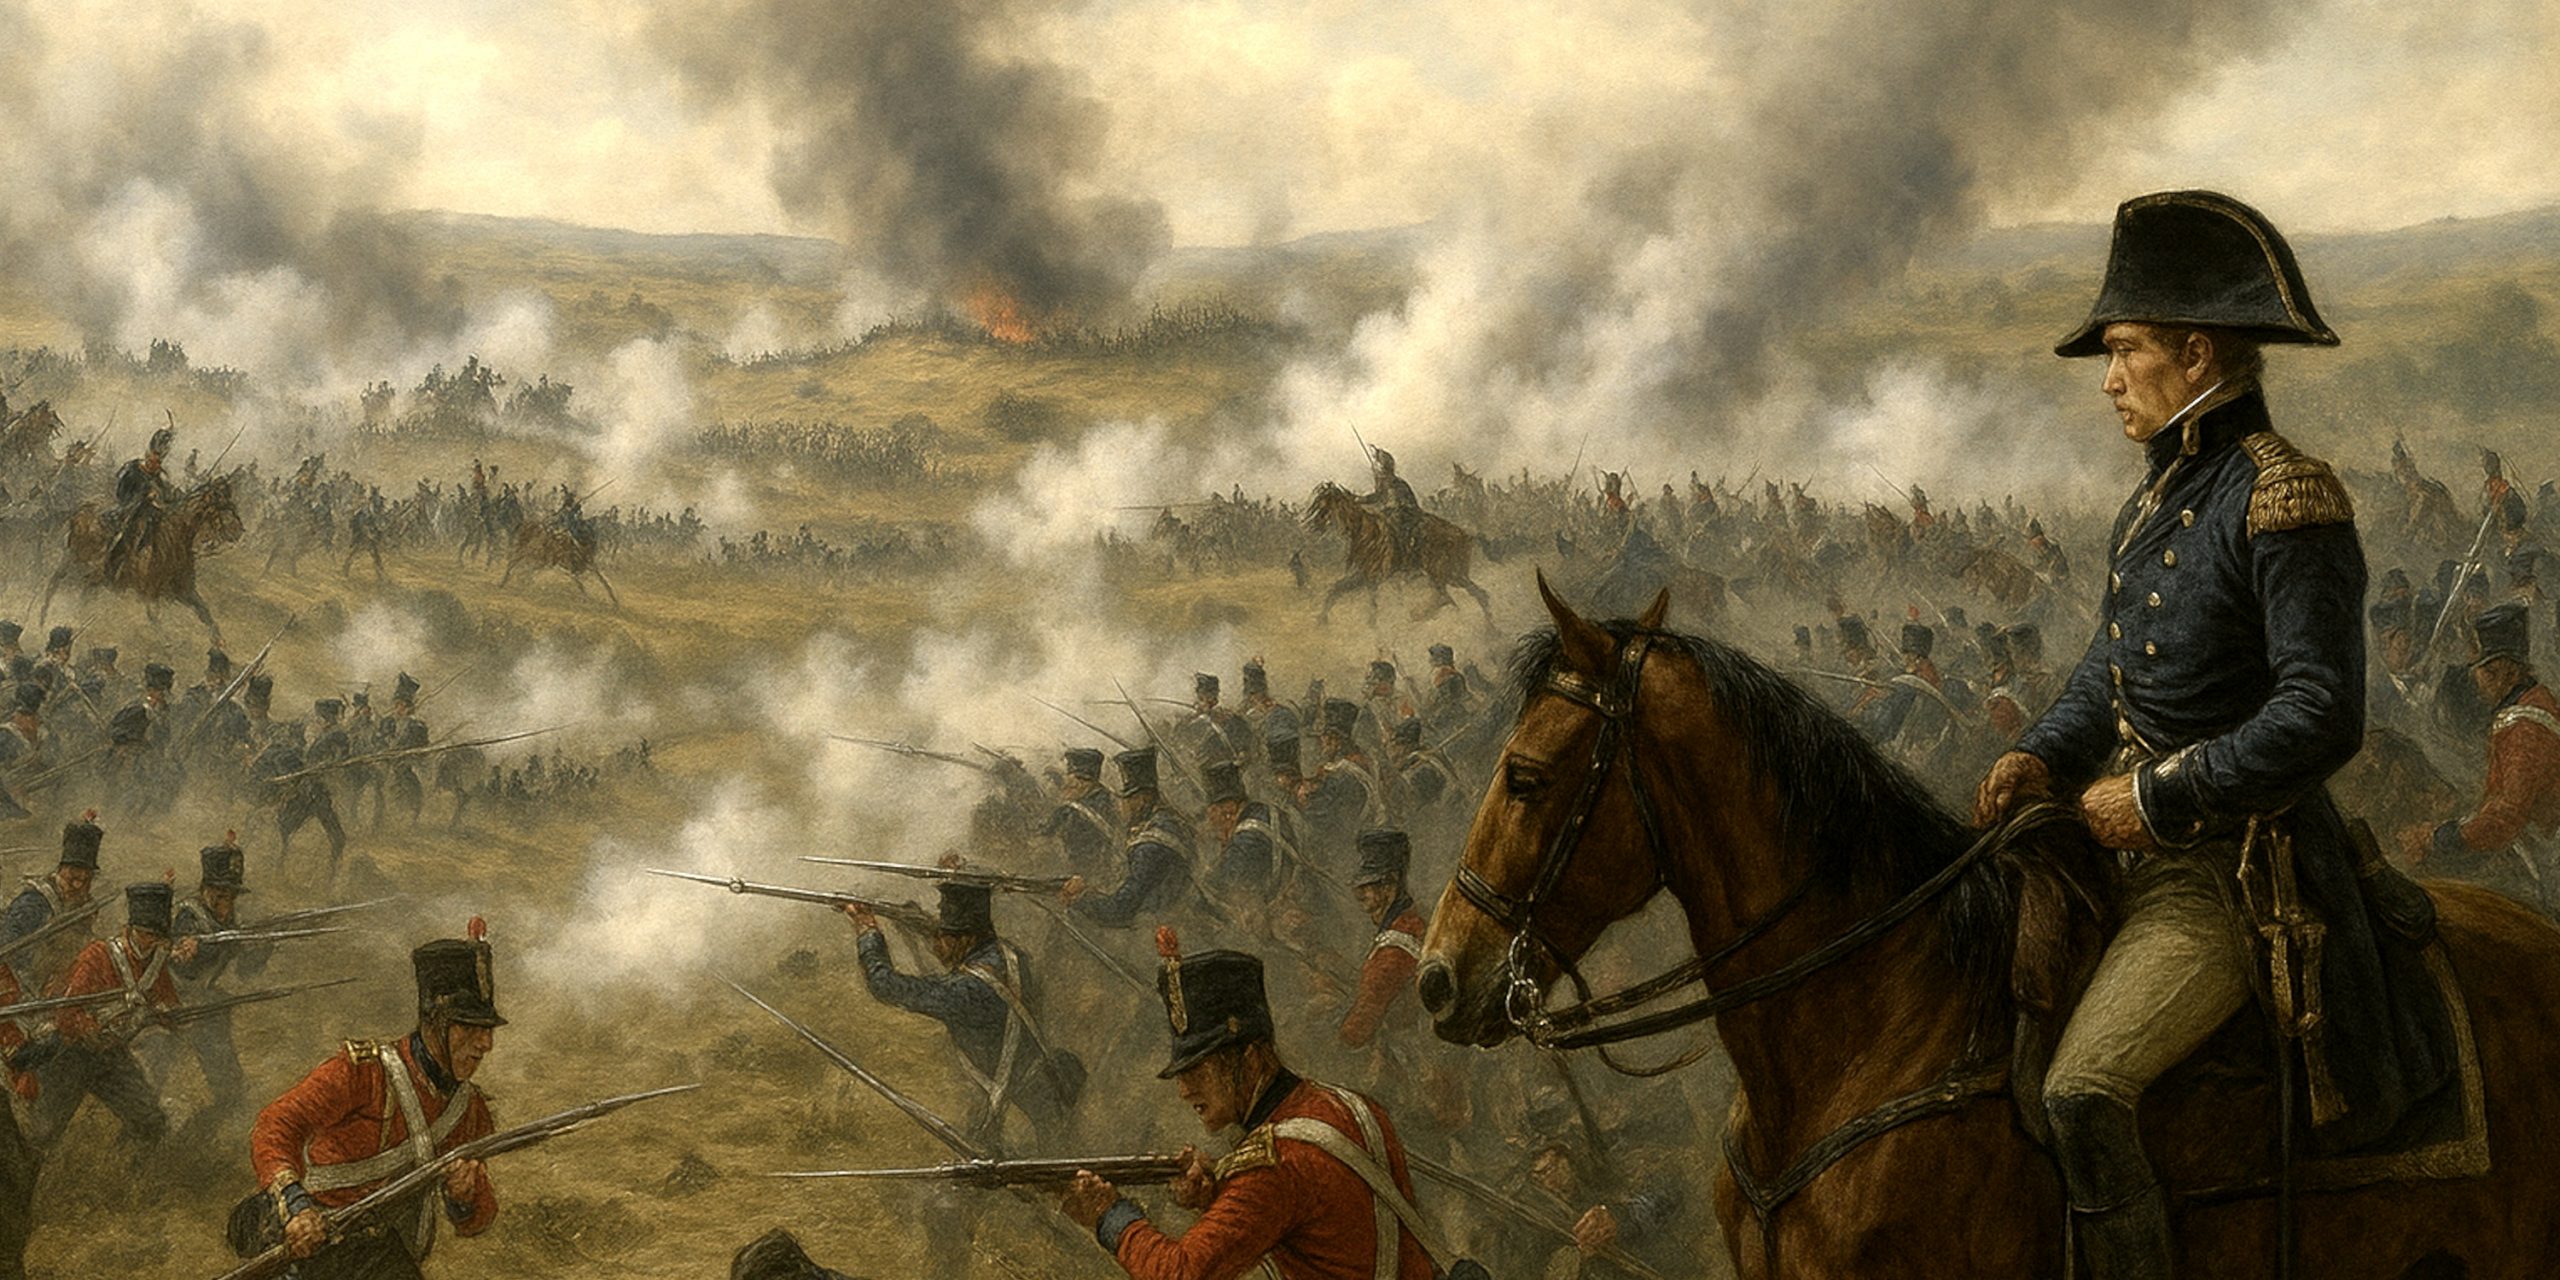
What Happened
The French attempted a long flanking sweep around Wellington’s right, hoping to unhinge the allied line. This stretched their forces into a vulnerable arc. It was exactly the sort of overextension Wellington prayed for, probably with a small smile that he insisted was concentration.
At roughly three in the afternoon, he saw the French divisions drifting too far from the supporting centre. He snapped his telescope shut and declared:
“By God, that will do.”
The allies surged forward. Pakenham’s Third Division smashed into the exposed French left. The Light Division, nimble as ever, cut through the centre. French command dissolved once Marmont and his second in command were both incapacitated. Clausel fought to save what he could, but the momentum was entirely Wellington’s.
By evening the French position had collapsed. Thousands fled toward the Tormes. Salamanca was a rout, not a tidy victory.
Archaeology
The battlefield has offered a modest haul of finds, although modern farming has obscured much of the original terrain. Key discoveries include:
- Musket balls from both British and French calibres, found around the Greater Arapile.
- Cavalry sabre fragments, likely from the 1796 pattern.
- Uniform buttons of the 22nd French Line and the 5th Portuguese Cacadores.
- Artillery roundshot embedded in dry soil strata, showing the angles of British counterbattery fire.
Ground surveys continue to map the ridge positions and troop movements. It is remarkable how small some of the key slopes really are. Commanders wrote as though they were fighting on the Pyrenees, when in truth they were bickering over lumps that would barely trouble a hiker.
Battle Timeline
Morning, 22 July 1812
French forces begin their wide sweep around Wellington’s right flank. Allied scouts report the movement but hold position.
Midday
Marmont continues extending his line. The French divisions become separated across the uneven terrain of the Arapiles.
Early Afternoon
Wellington realises the French centre is dangerously thin. Orders are prepared quietly to strike before Marmont settles into place.
Around 3 pm
Wellington gives his famous signal to attack. The Third Division slams into the French left.
Late Afternoon
Light Division cuts into the centre, capturing guns and throwing the French into confusion.
Early Evening
Clausel attempts to organise a fighting retreat but British and Portuguese divisions press hard. French lines disintegrate.
After Sunset
The field is secured. French casualties are severe, and the road to Madrid lies open.
The Seven Swords Takeaway
Salamanca restored British and allied confidence, cracked French political control over central Spain, and showcased Wellington’s ability to capitalise on fleeting tactical opportunity. The campaign that followed pushed the allies into Madrid in triumph, at least until the next round of French reinforcements bullied them back toward Portugal. War in the Peninsula rarely offered simple endings.
Salamanca remains the battle where Wellington mastered manoeuvre warfare. It is studied for timing, judgement and the rare thrill of watching French marshals discover that overextension is not a myth invented by British historians to feel clever.
Watch the documentary: